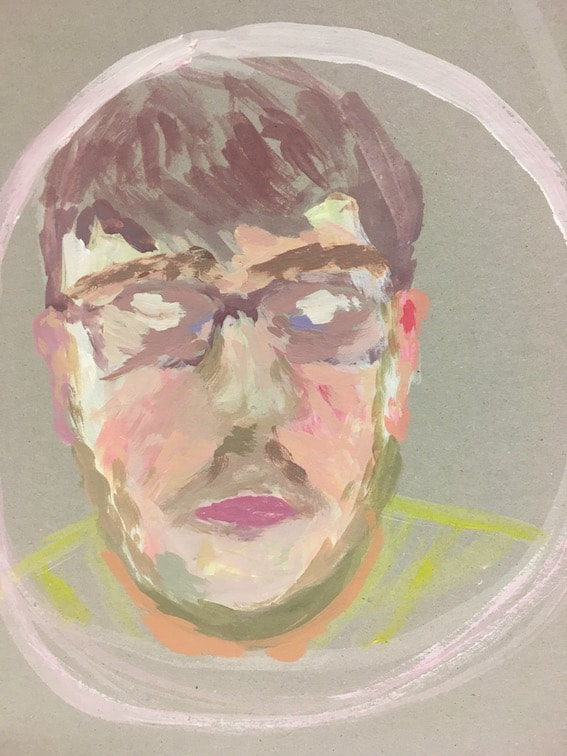
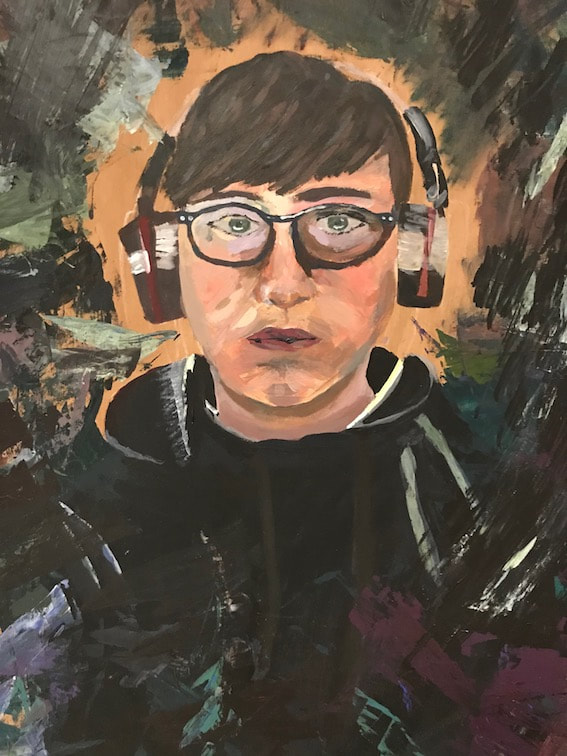
TC#4 LESSON RESOURCE: SELF PORTRAITS - ABOUT FACE (PART 1)
Painting someone's portrait is, of course, an impossible task. What an absurd idea to try and distil a human being, the most complex organism on the planet, into flicks, washes, and blobs of paint on a two-dimensional surface. David Cobley
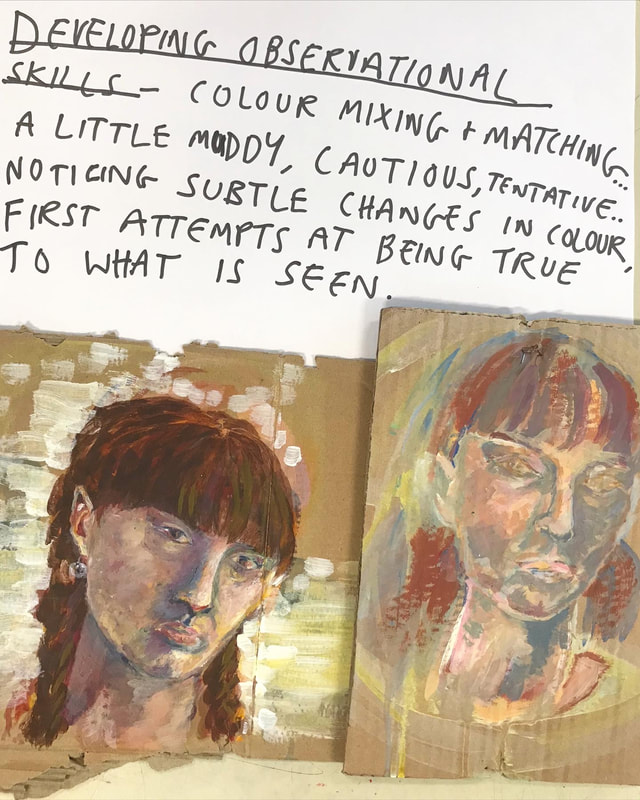
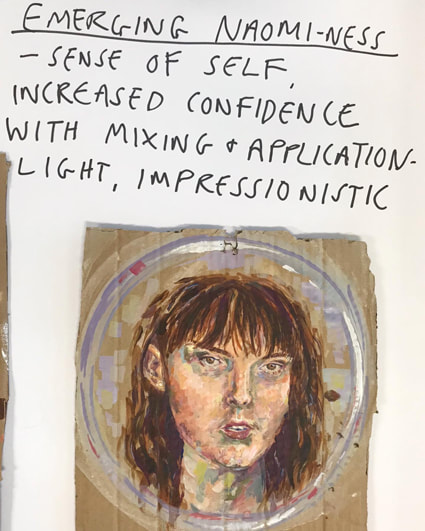
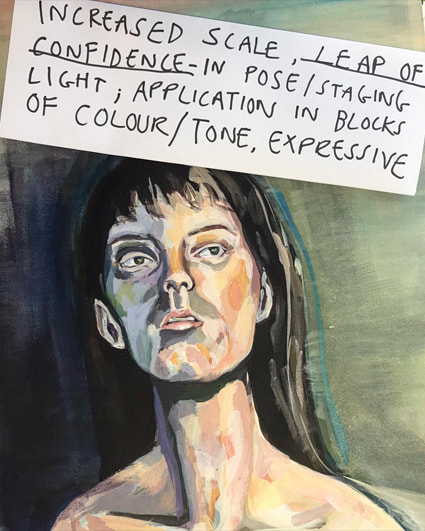
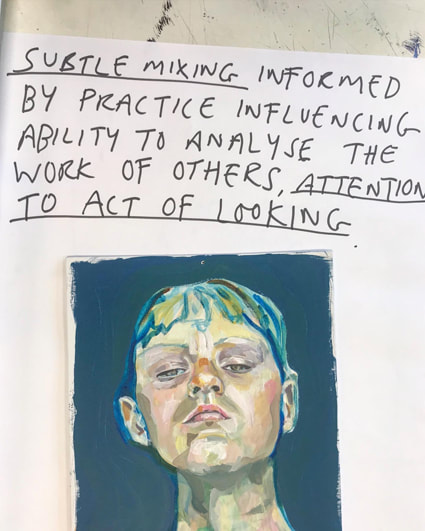
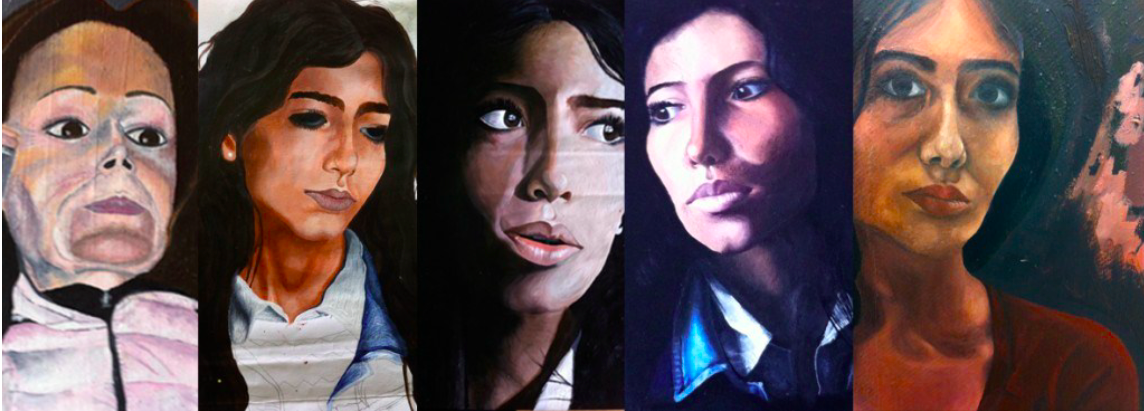
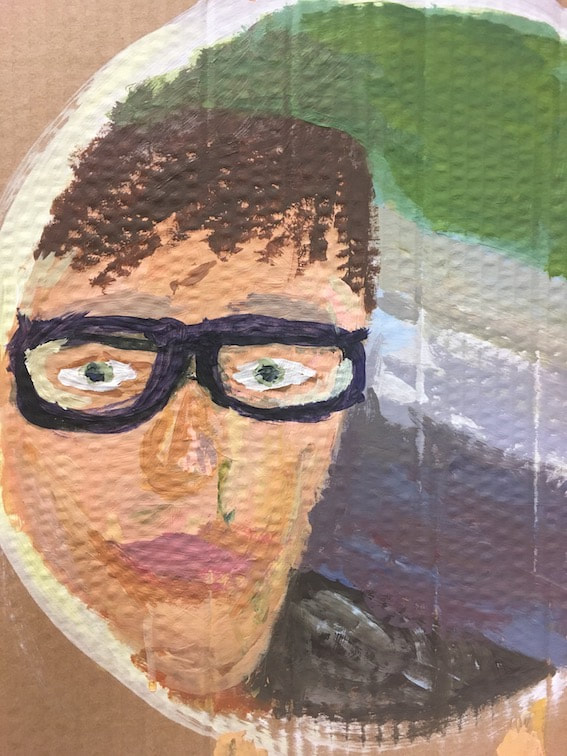
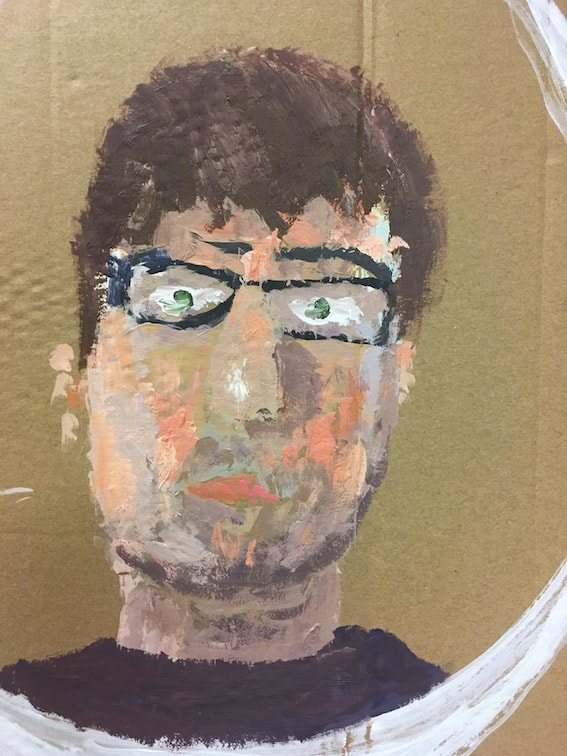
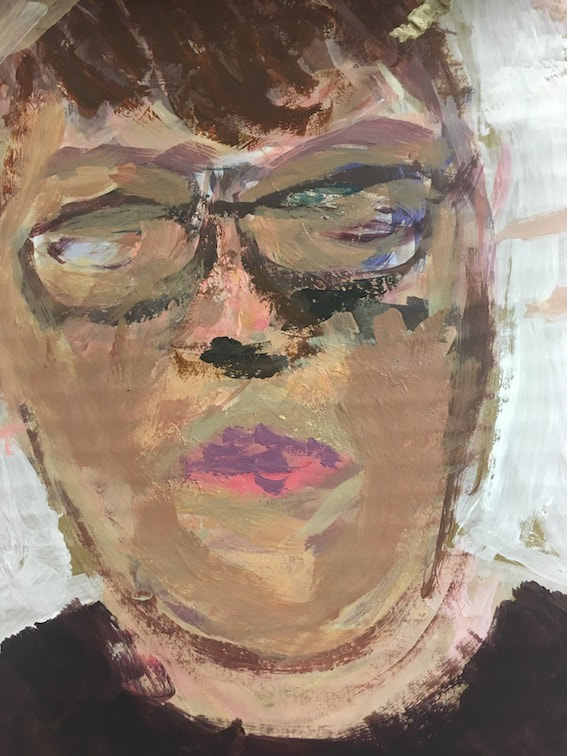
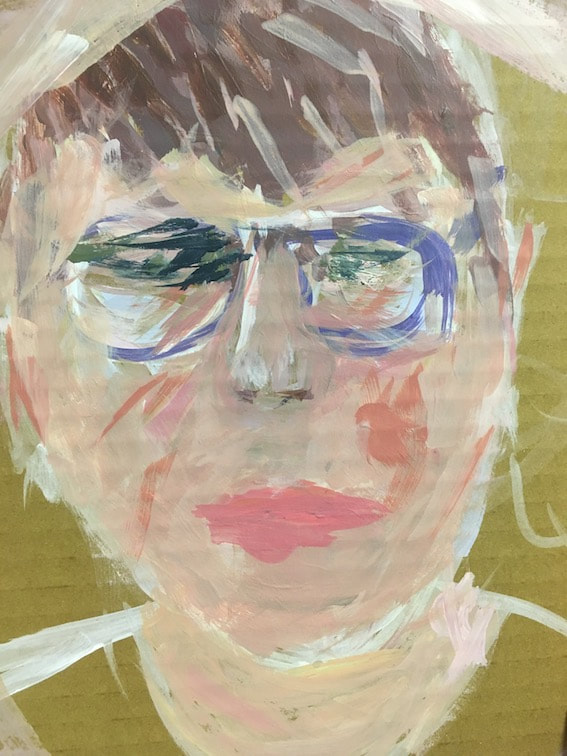
Self-portraits by Naomi, KS5 student. A timeline of painting experiments demonstrating improvements in technique and understanding.
ABOUTThis resource focuses on self-portraiture and is written in two parts. This first part, below, deals with painting what might be considered a more 'traditional' self-portrait. Alongside useful practical advice it aims to reveal some of the challenges involved for teachers and students. Part 2, to follow, takes a more contemporary approach. The aim here is to counter-balance - playfully challenge, even - the traditions, the structure, the level of teacher-control touched upon in the first section.
Threshold Concept 4 is central to these paired insights and activities: Artists use (and abuse) traditions. THEMESPart 1 addresses representational self-portrait painting and touches upon styles and techniques; colour theory and application and the resistances and affordances of selected art materials. Some common errors when painting are also highlighted, and key vocabulary is emphasised throughout.
Part 2 will introduce alternative approaches to self-portraiture. It will share a range of contemporary examples and provide a fun and ambitious practical challenge for students. |
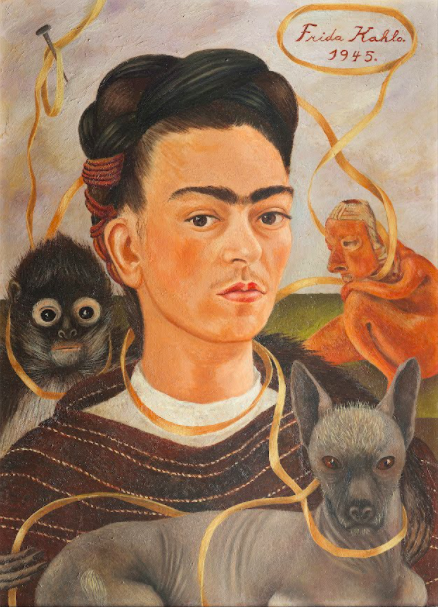
I am my own muse, I am the subject I know best. The subject I want to know better. – FRIDA KAHLO
PART 1: self-portrait painting
FOR DISCUSSION
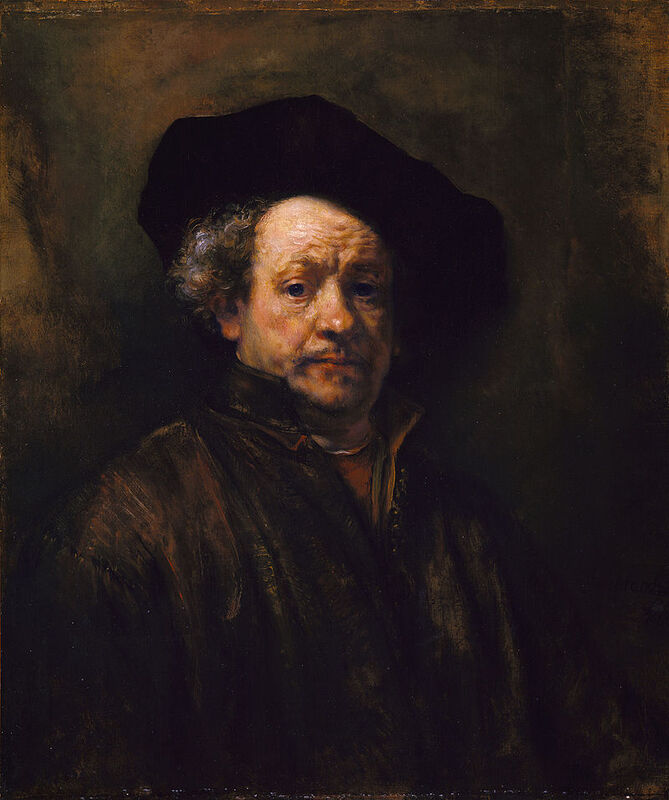
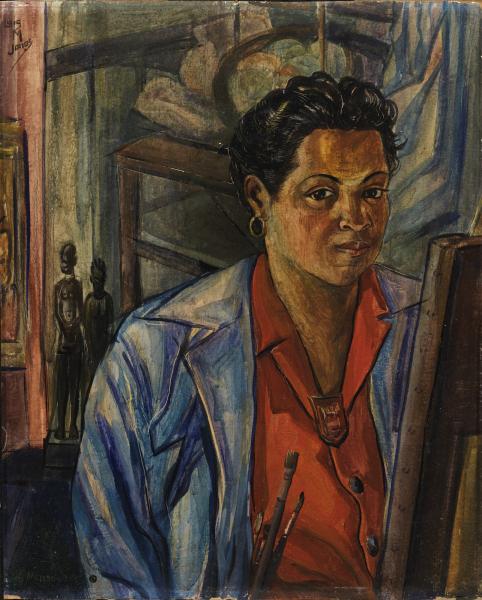
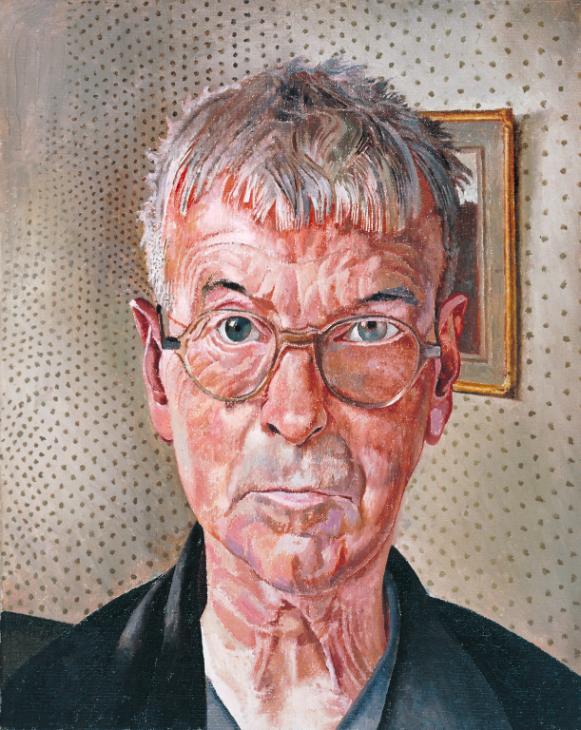
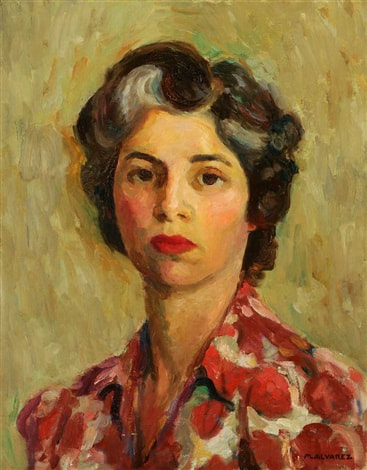
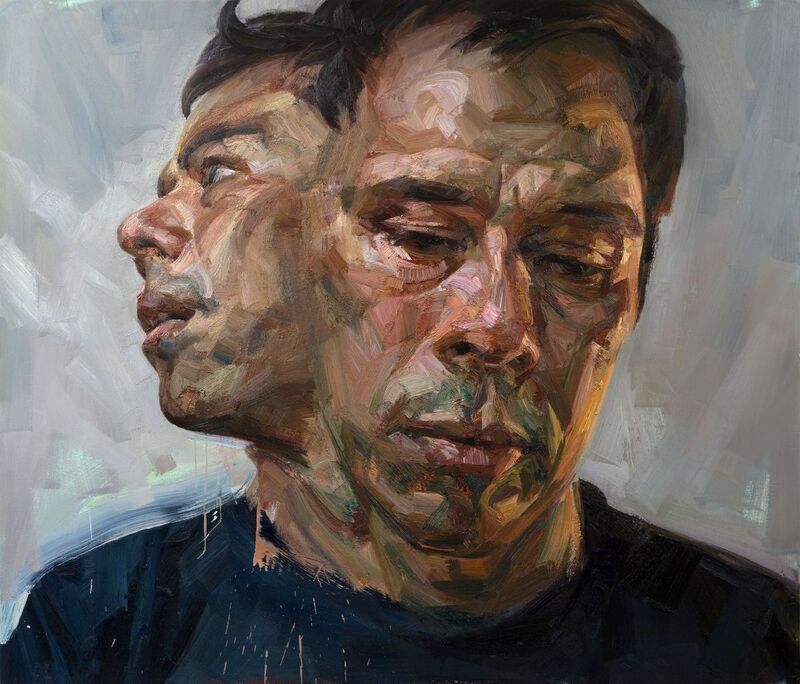
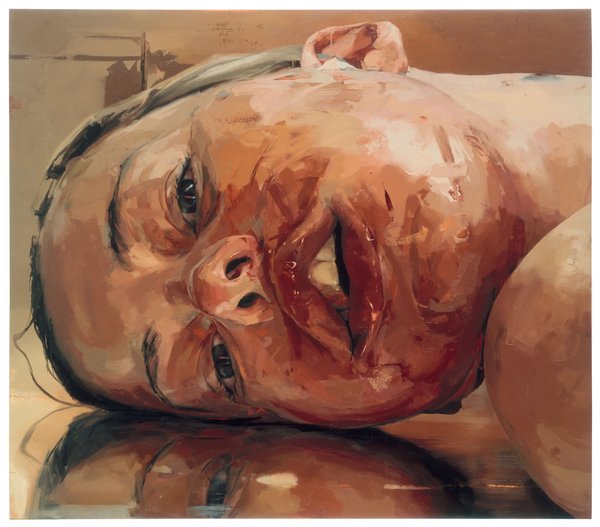
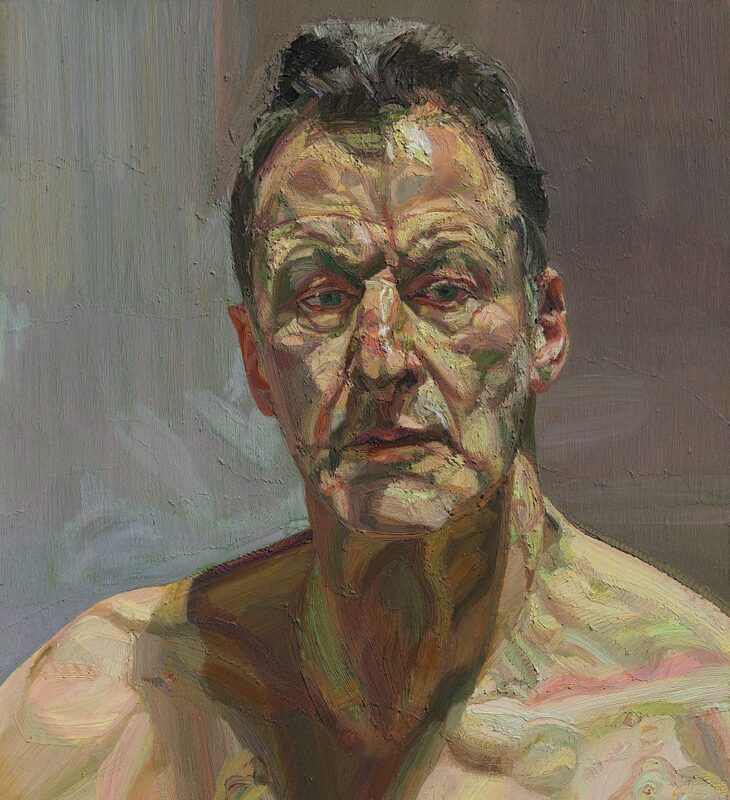
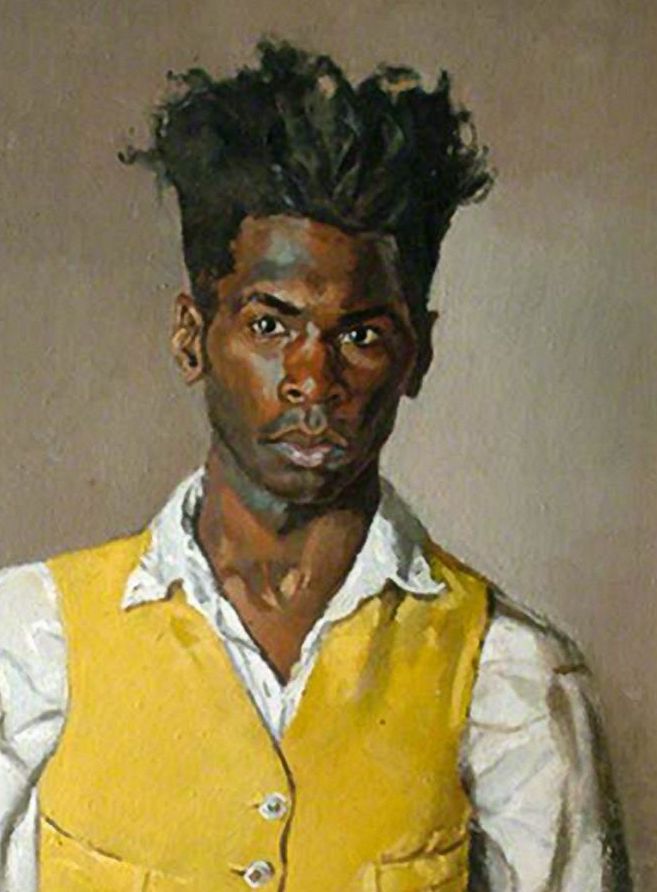
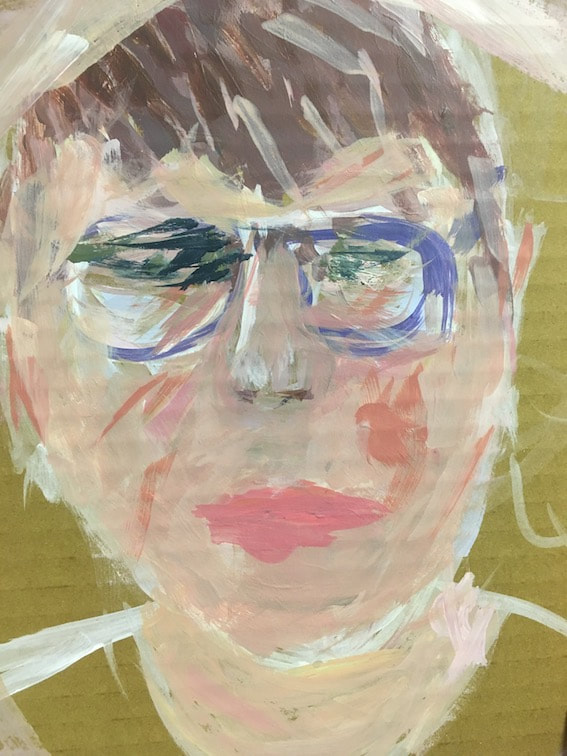
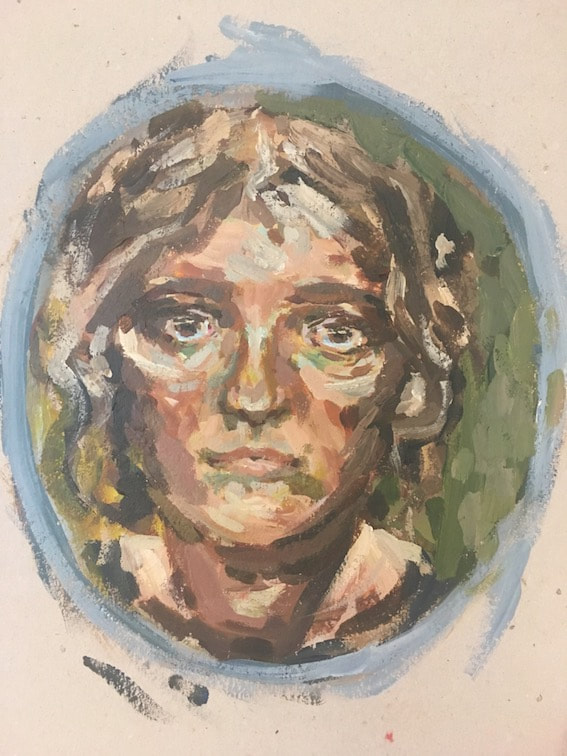
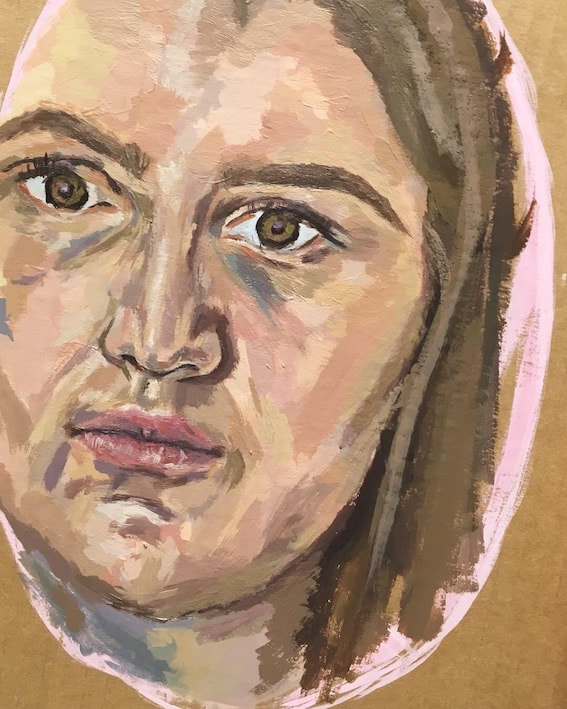
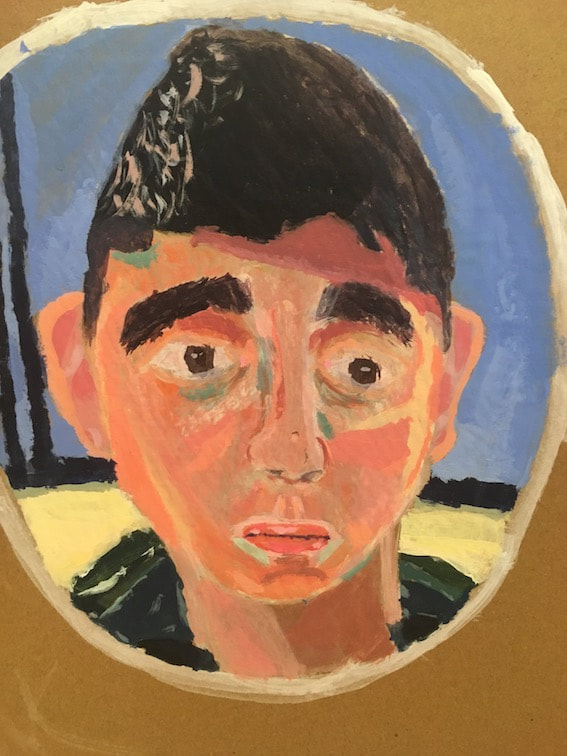
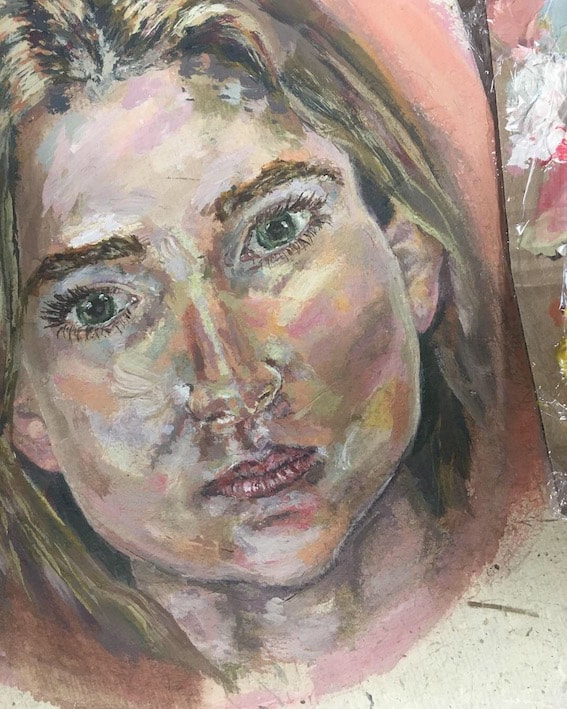
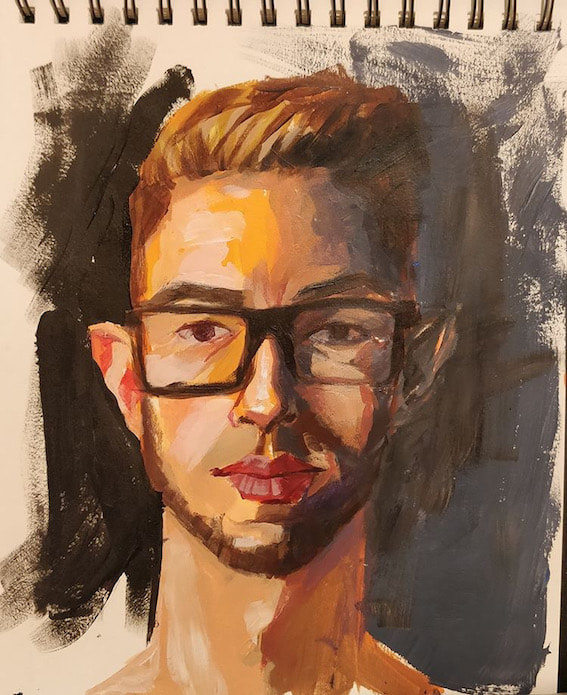
Look carefully at the self-portraits, above. How might you describe the style of these works? Mostly the word 'style' is used in art to refer to specific art movements and their distinct approaches, e.g. Fauvism, Cubism etc. but these examples are all similarly 'representational', so a more sensitive choice of descriptive words is required.
‘Techniques’ are often dictated by the resistances and affordances of the art materials used. For example, what the properties of a particular paint will allow you to do (or not), depending on its consistency, viscosity, dilution, flow etc. (combined with the tools used; the surface it is applied to; the actions it is applied with, and so on). Over time some techniques have become established as 'traditional' methods, for example Impasto, Sgraffito and Chiaroscuro.
- Which examples would you describe as being the most painterly, figurative, impressionistic, expressionistic, realistic, representational, gestural?
- Which examples strike you as the most staged, authentic, revealing, dramatic, (un)flattering, humorous, intense, prepared for, spontaneous?
‘Techniques’ are often dictated by the resistances and affordances of the art materials used. For example, what the properties of a particular paint will allow you to do (or not), depending on its consistency, viscosity, dilution, flow etc. (combined with the tools used; the surface it is applied to; the actions it is applied with, and so on). Over time some techniques have become established as 'traditional' methods, for example Impasto, Sgraffito and Chiaroscuro.
- Regarding various techniques and paint qualities, do any of these words seem more suited to describing specific examples, above: textural, creamy, daubed, blocky, blended, scraped, dry, layered, refined, smoothed, drawn, sculpted, pacy, controlled? What other words come to mind?
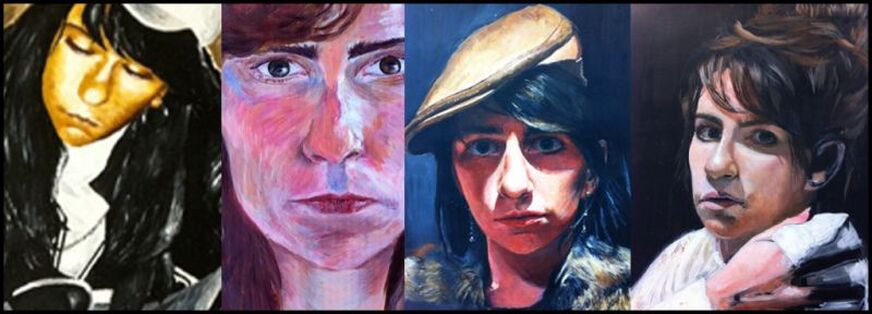
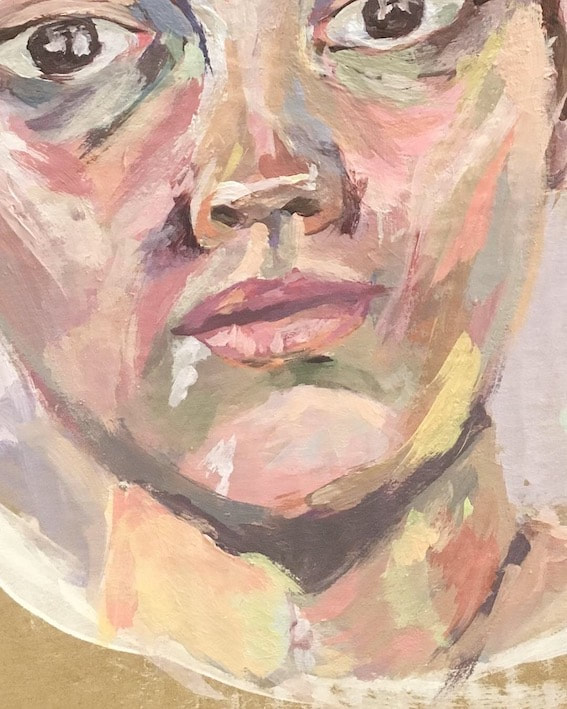
Details of self-portraits by Becky, Year 12-13. A timeline of painting experiments demonstrating improvements in technique and understanding.
WHAT DO I NEED TO KNOW?
Creating the right environment for self-portrait painting is essential. Students have to feel comfortable putting themselves on show. Mistakes are inevitable - helpful, actually, and all artists know this - but students can initially be very self-conscious. The ideal environment is a space where students are happy to experiment without a fear of failure, to share learning experiences, to not feel rushed into having a recognisable or impressive portrait from the start.
Certain environments have a greater density of interaction and provide more excitement and a greater effervescence of ideas – therefore they prompt the person who is inclined to break away fromconventions more readily. MIHALY CSIKSZENTMIHALYI
Of course, this is not just a teacher responsibility but one for the whole group. Here are a few suggestions to help:
- If possible claim a specific space - a corner of an art room, a corridor, a spare classroom - declare it a studio space - where work can be developed at any time, and left out for others to see the progress. A shared space (with a sense of responsibility for it) helps to create an authentic studio culture.
- Listening to music or a podcast can add to the sense of a shared experience. This can also alleviate the intensity of that group silence. I'm partial to a a Radio 4 podcast myself. You might try Steve McQueen, Lubaina Himid, Thom Yorke or Yoko Ono on Desert Island Discs.
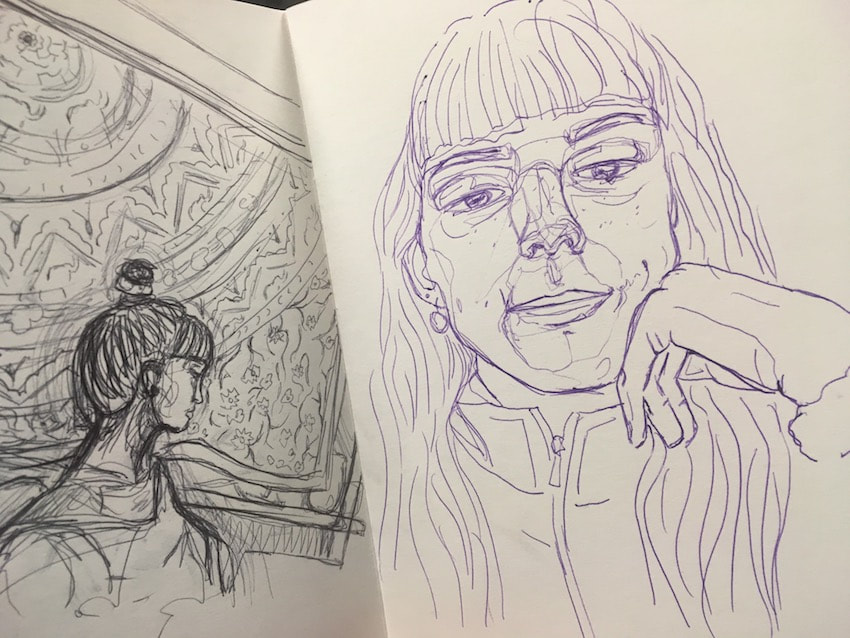
- For teachers, painting alongside students can be really rewarding - for everyone. It might not be every art teachers specialism, but that’s fine - it’s a great way to connect and learn together, demonstrating and verbalising challenges as they arise, revealing mistakes and doubts as an inevitable part of the process. Sharing a regular sketchbook (or a ‘book for mistakes from which I learn’, as one student put it) can also model a commitment to deliberate practice.
Sketchbook pages, self-portrait studies developed alongside students - not grumpy, honest. Just funny looking and concentrating; having a go.
The next set of thoughts reflect upon various stages of the painting process. Students may wish to identify a few specific areas to focus upon...
Setting up
Purposeful positioning
Material matters
Setting up
- Try to work from a mirror rather than a photo. It adds authenticity and energy, and helps avoid those more obviously copied, mask-like qualities. When choosing a mirror - and the placing of it - be fully aware of its influence on your composition AND the quality of light. Also, fix it in place if you can. Using a mirror will encourage awareness of how light (and consequently colour) can shift and change. In addition, it might help to use artificial light, or even a large sheet of white paper to bounce a little more light back where required.
Purposeful positioning
- Aim to reduce the ‘translation time’ between observing and responding. Set up palettes, water etc. within easy reach, on the same side as the hand you paint with. Place the mirror to allow for observing with quick eye-movements rather than needing to constantly move your head or twist your whole body. Standing at an easel can free-up arm movements, aid larger, expressive brush strokes and also enables more regular stepping back; sitting down can aid concentration, closer scrutiny and tighter control.
Material matters
- Having the correct tools for the job is important. As a bad golfer it’s difficult to fathom that Tiger Woods not only hits the ball so well, but he actually aims for a specific part of a golf ball. Likewise, an artist might well be aware of specific hairs on a brush and how they will influence the quality of line or a mark made. Unfortunately, art students can become accustomed to PVA ridden brushes and this is definitely not conducive to developing sensitive skills. Quality brushes are needed, as is knowing how to twist or flatten a brush to tame those stray hairs - to 'paint the hair on a spider's leg' should you ever feel the urge.
- To offset brush costs, working on cardboard or hardboard can provide a ready-made mid-tone to paint both ways - light and dark. The mid-tone is important: Would you sit at one end of a piano to play a tune? A mid-tone is also far less intimidating than a blank canvas or sheet of white paper. But if that all you have, simply I'd-it-up first. Also, as you work, remember to mix (or at least test) your colours on the same surface you are working on.
|
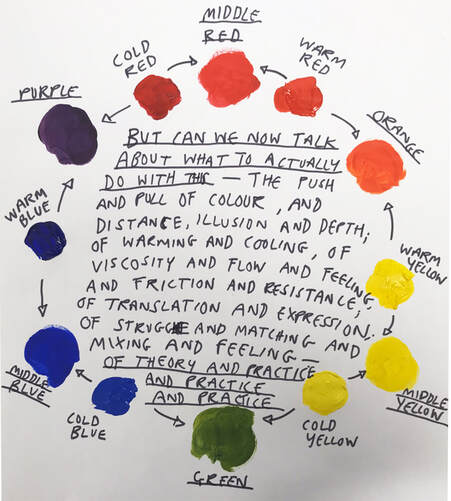
About colour
|
Details of self-portraits by Ana Maria, Year 12-13. A timeline of painting experiments demonstrating improvements in technique and understanding.
About feedback
Constructive criticism can still be difficult to take (or deliver) when it is related to something as personal as a self-portrait. But honest feedback is essential, even if it is an absolute minefield for teachers. (C'mon, we've all said: Your eyes are too close together or Your nose is too big, only to look again at the student and realise the painting might be accurate. Haven't we??). Regardless, it's good to create a culture where feedback can be honest and direct, discussed with sensitivity and, possibly, humour. For let’s be honest, when portraits go wrong they can be pretty entertaining. And while 'Happy accidents’ are to be embraced when painting, for this kind of task they are not a ‘get out of jail free’ card for students. “I wanted that to be abstract" isn't always satisfactory.
Below are a few common errors that can occur when students first paint self-portraits. Might as well put them on the table right at the start.
- Not observing carefully enough - with each careful look there should be an inquisitive question. For example, 'What angle/size/colour/form is that (wrinkle, nose, shadow, line...), compared with that...?', 'Is that skin tone warmer or cooler than...', 'If I drew an imaginary line across that, where would it pass through here..'.
- Poor reference materials - e.g. painting from a picture on a mobile phone or poor quality print; sitting with light directly behind.
- Poor compositional planning - e.g. starting a portrait and adjusting the proportions in an attempt to fit the face on a page.
- A reliance on outline, rather than subtle tonal work - often as a result of wanting immediate accuracy.
- Muddy colour mixing – often through overuse of black, or deciding 'that'll do' a bit too early.
- Not spending enough time colour mixing/matching - I'd propose more time should be spent mixing that actually painting.
- Not dealing with the painting as a whole – working feature by feature, detail by detail e.g. two great eyes completed but...step back: Oh no! - they don't even line up!
- Ill-considered direction of brush strokes - brush strokes not having any affinity with form, the actual ‘3D-ness’ of the face.
- Indecision regarding intended style – unsure of the ‘tone of voice’ they are painting in, or jumping between styles and techniques midway.
For discussion
Look at the examples below produced by Year 12 students. Some of these have studied GCSE Art, others have had no prior experience at all of painting.
- How might you suggest each of these could be improved further? What particular skills or understanding need further development?
- Which words are important to describe certain successes or areas for improvement?
- Is it possible to order or rank these in terms of success? - Is it even necessary or helpful (for the artists, for other students, for you) to do this? Why might this be problematic?
- What criteria would you use to 'value' these?
PRACTICAL IDEAS
Even within the self-imposed constraints of this resource - painting a representational self-portrait - there are still lots of possibilities for experimentation. Below are a few suggestions:
- Set a ridiculously ambitious challenge to promote quick self-portrait experiments rather than paintings as 'final pieces' (and for the record, I detest those two words). 7 painted self-portrait studies in one week should do it.
- Provide various dressing-up options for self-portraits - hats, glasses, scarves and what-not. This was good enough for Rembrandt.
- Consider alternative surfaces for reflections - windows; shiny surfaces such as a kettle or a back of a spoon; a combination of mirrors.
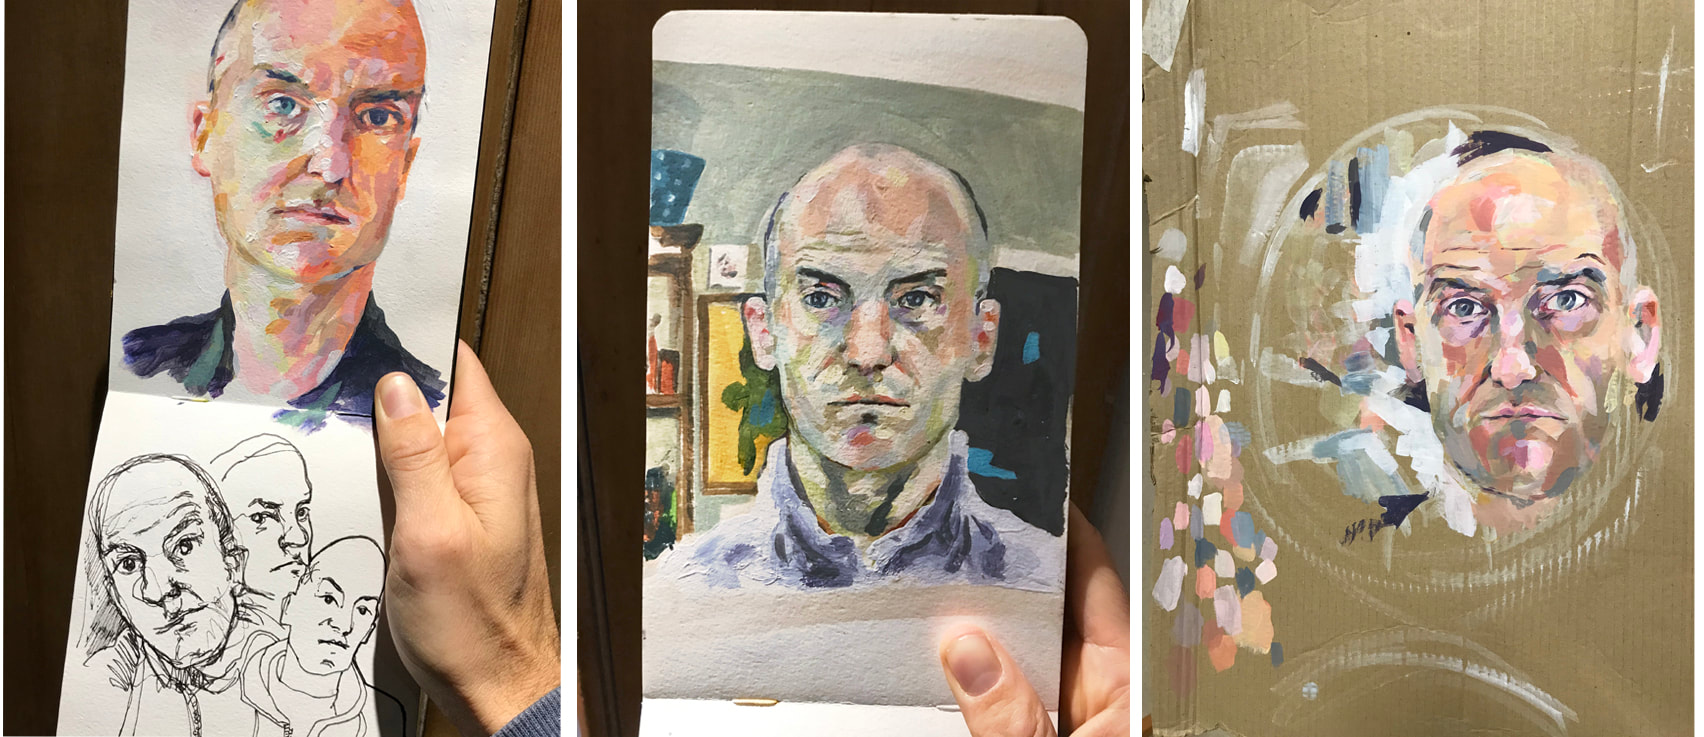
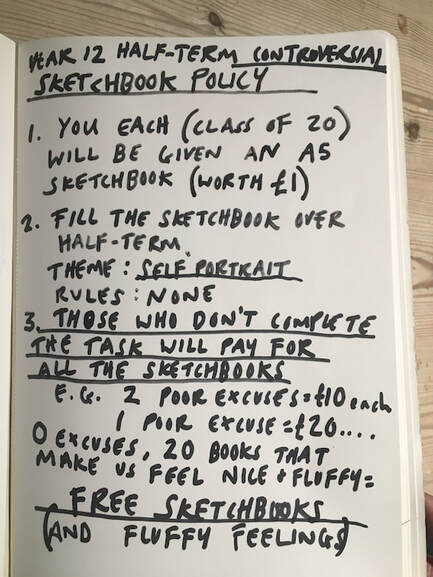
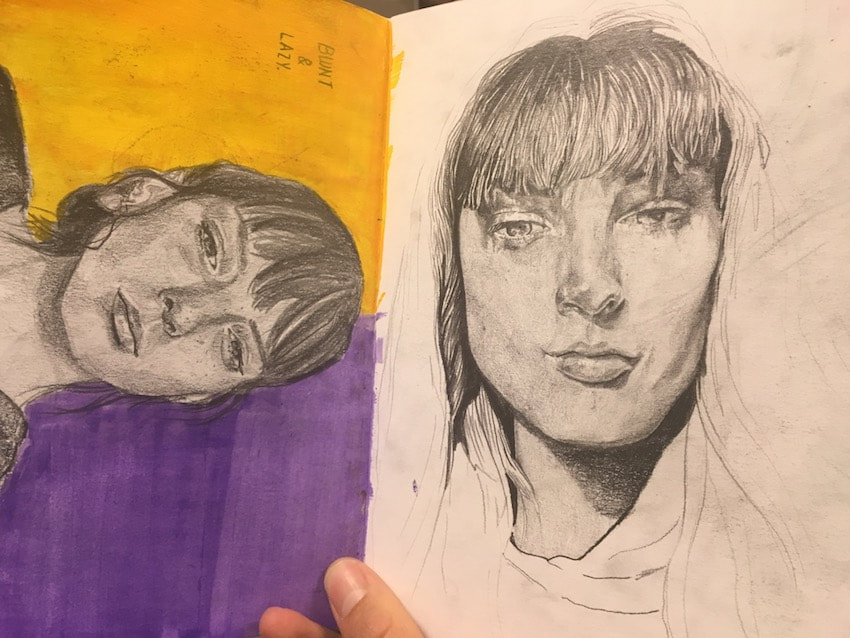
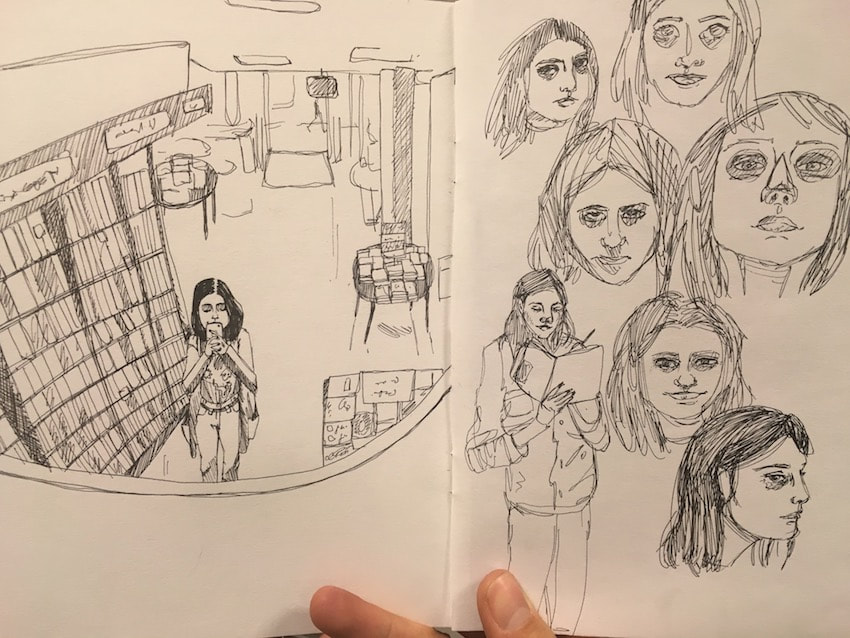
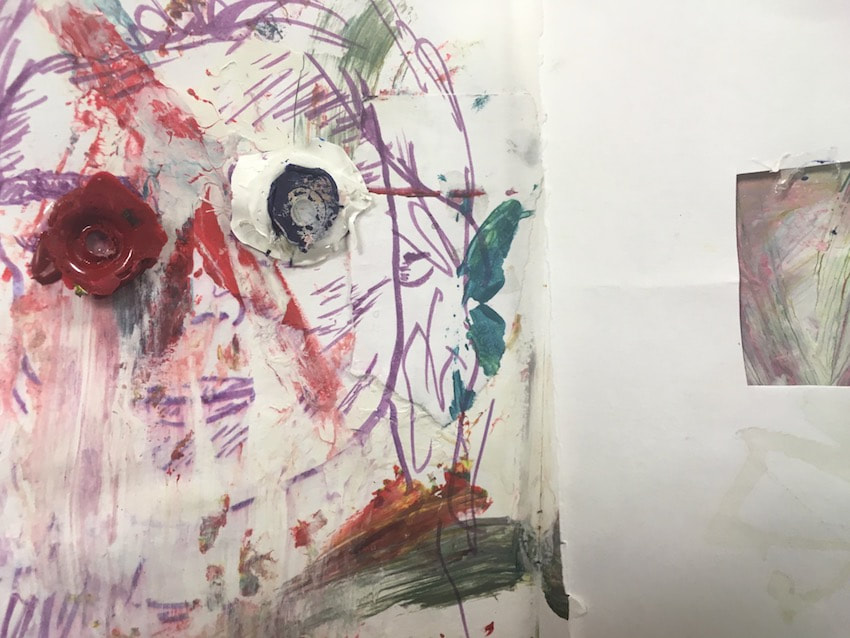
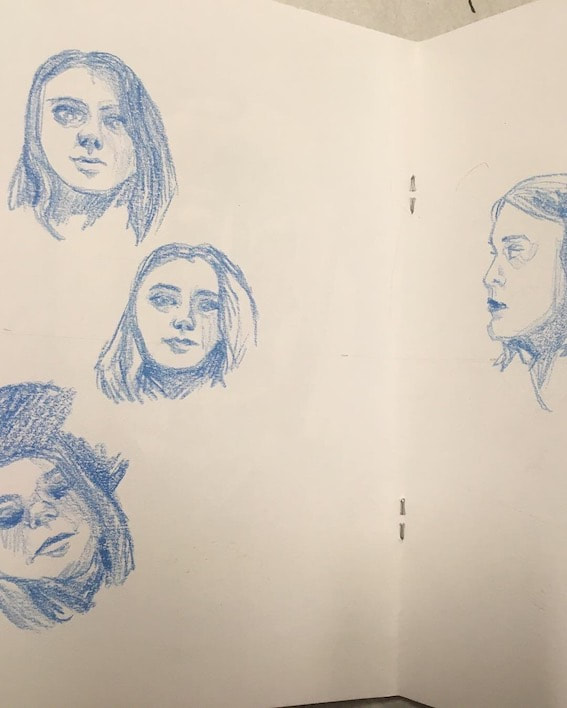
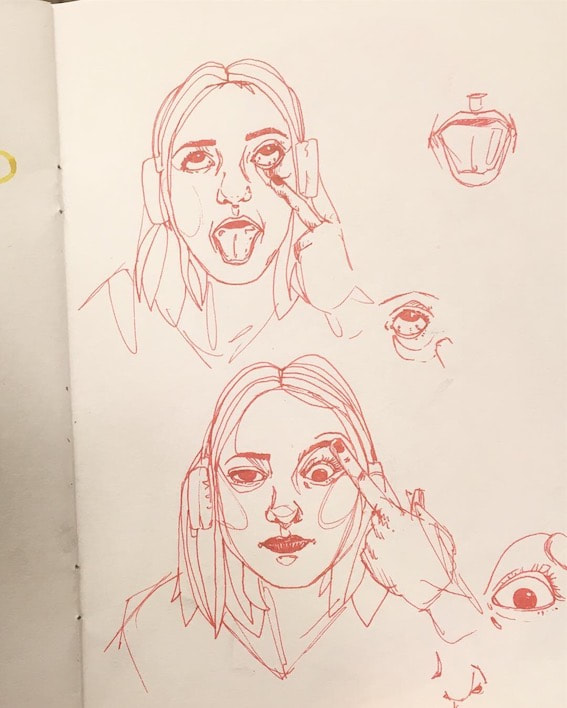
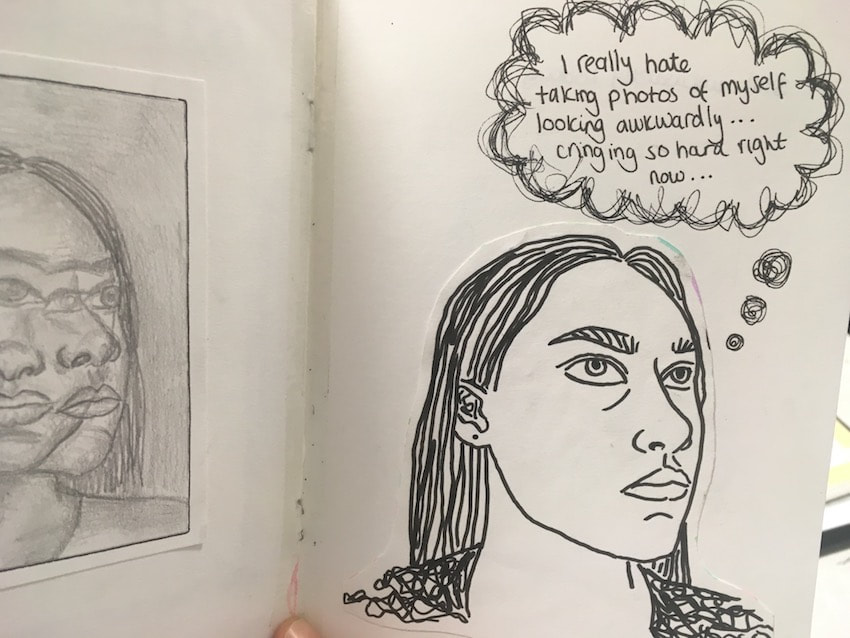
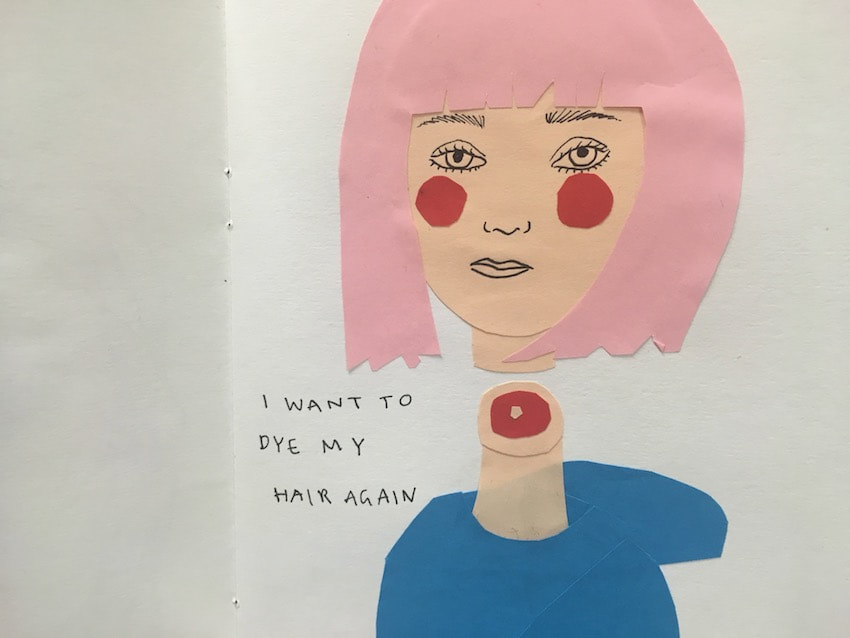
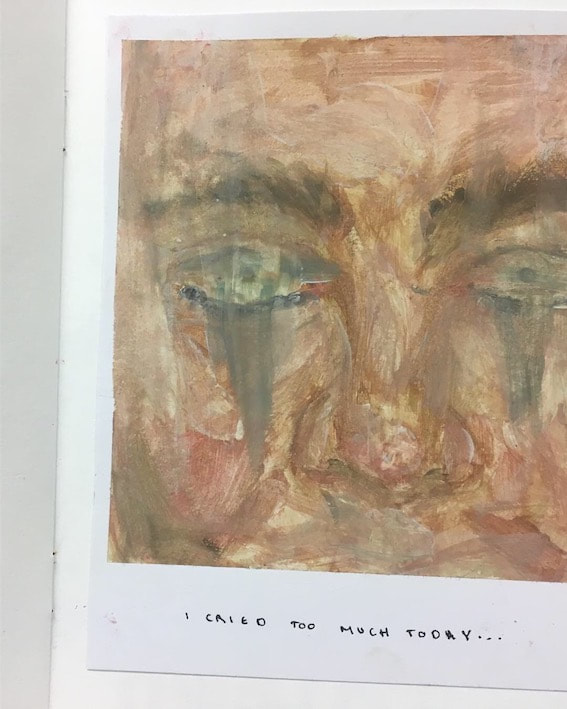
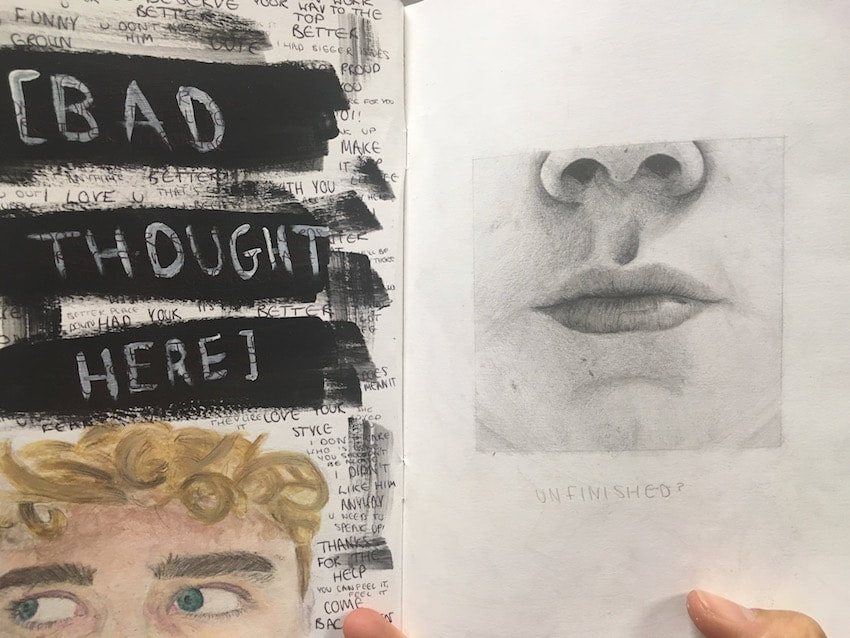
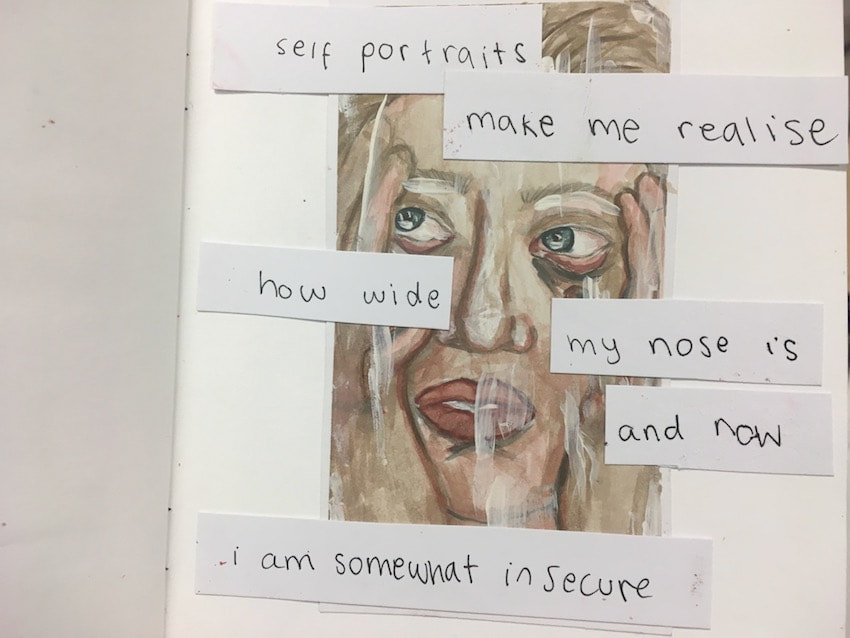
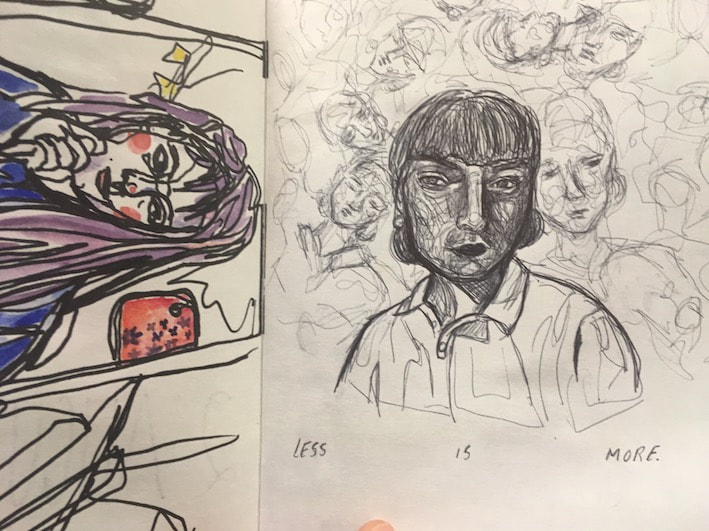
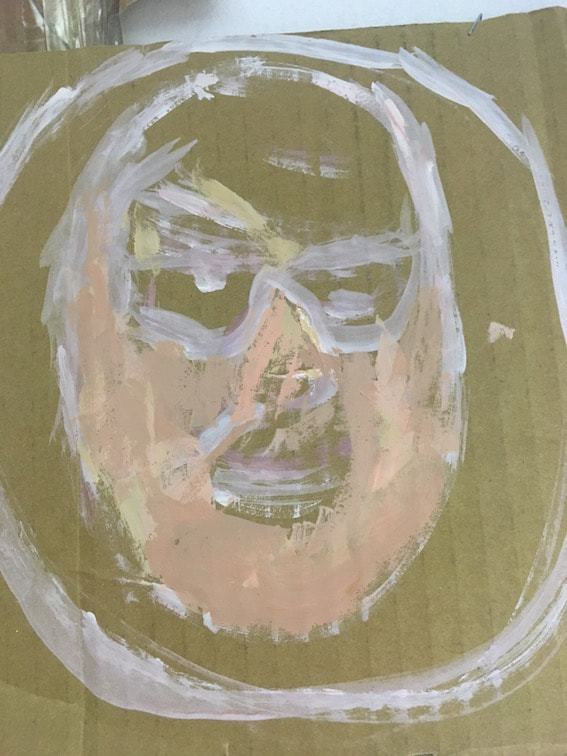
- Employ a *controversial sketchbook policy* in support of this activity - see below. Even if it is just a playful threat, this is a great way to balance these structured painting sessions with more experimental approaches. Challenge students to complete an experimental sketchbook of self-portraits, this time with no constraints. You can see some examples below. It is a great task to lead into Part 2...
FURTHER READING
- Self-Portraits - About Face (Part 2) - coming soon - This will introduce alternative approaches to self-portraiture. It will share a range of contemporary examples and provide a fun and ambitious practical challenge for students.
- Why Female Artists Have Used the Self-Portrait to Demand Their Place in Art History - Amanda Scherker, Artsy, 2019
- Lucian Freud in Five Self-Portraits - Martin Gayford, Royal Academy, 2019
- The Self-Portrait: A Cultural History - James Hall, 2014
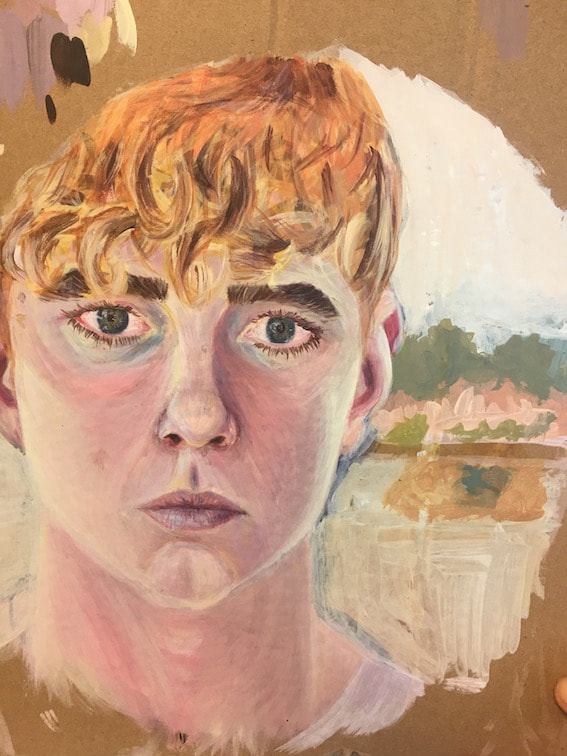
KS5 student Tom did not study GCSE and had not done any painting prior to Year 12. This timeline shows how his skills continue to develop through practice. But that is not to say that earlier examples - less refined or detailed, for example - do not have their own values, and this is where Part 2 will pick up from...
