|
He picked up a greasy black stove and chewed it like a toffee. There were delicious crumbs of chrome on it. He followed that with a double-decker bedstead and the brass knobs made his eyes crackle with joy. THE IRON MAN Ted Hughes
IN PICTURES - THE IRON MAN, ILLUSTRATED
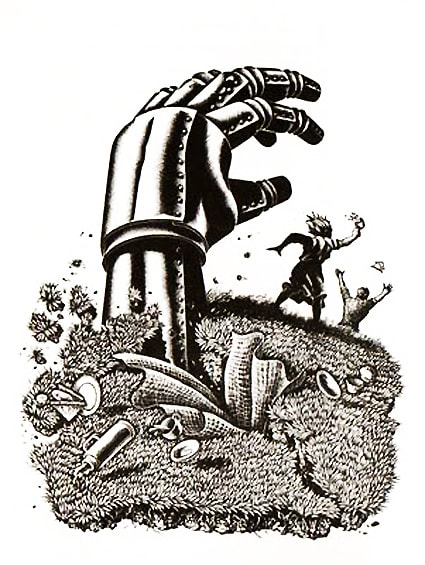
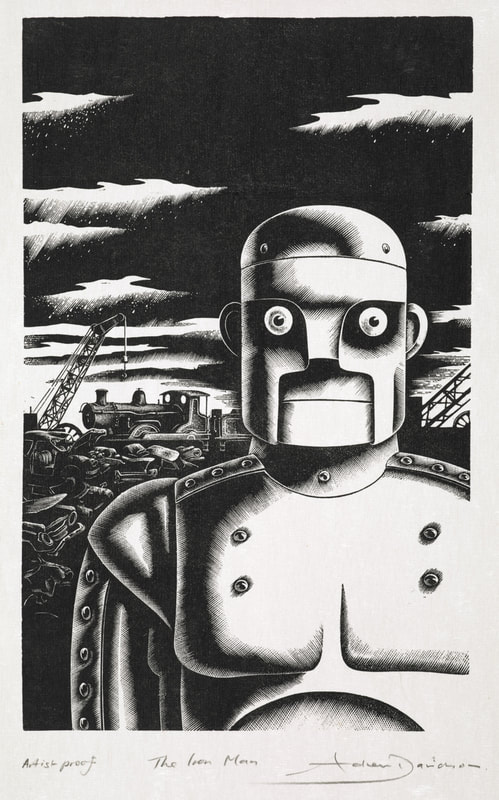
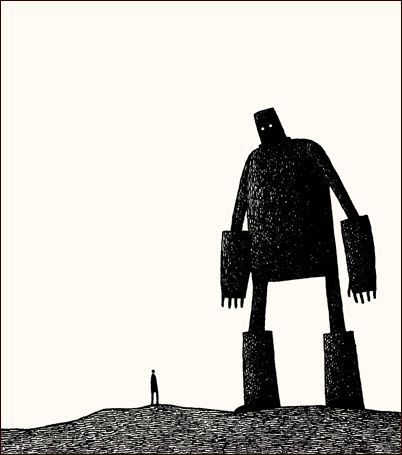
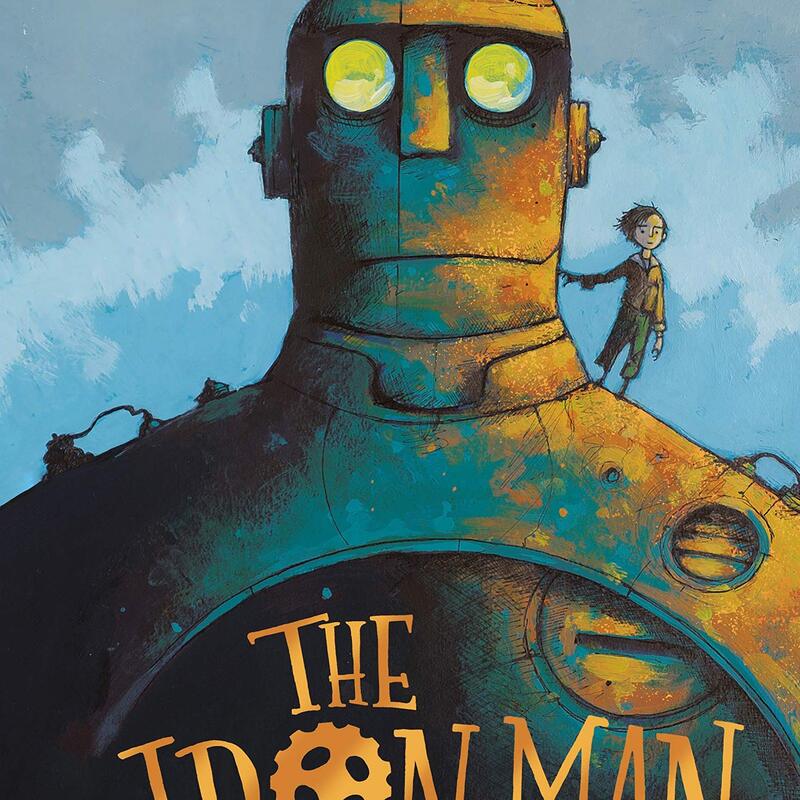
The illustrations above were produced for 'The Iron Man', by Ted Hughes. They were created by three different artists: (from left to right) George Adamson, 1968; Andrew Davidson, 1985; Tom Gauld, 2005.
Click on the images to see them in more detail. Discuss/answer the questions below - and remember: artists care to notice, question and connect!
Click on the images to see them in more detail. Discuss/answer the questions below - and remember: artists care to notice, question and connect!
- Why has the same book been re-published using different illustrations? Look at the dates above to help you think about this.
- Which sections of the story do you think these pictures illustrate? If you don't know the story fully, what do you think might be happening?
- Which two words help describe the mood or feeling of each scene?
- What similarities do these pictures have? In what ways are they different? Some of the words, below, might help you to answer this.
POTENTIAL ACTIVITY
This activity is to help you think about the different marks you can make with a pencil or pen to create a range of lines, shapes, tones, and textures.
Eeek! I'm turning into The Iron Man!
- On an A5 piece of paper, draw (around) the shape/outline of your hand.
- Now, using a pencil or pen (or other media for different effects), you will develop your hand-shape into an Iron Man's hand!
- To do this, first think about how you might adapt its shape and design. For example, will your robot have longer or shorter fingers? Or more, or less fingers? Will these be claw-like, rounded or square-tipped? Add to/edit your outline to create your imaginative robot hand.
- Think about the hand's potential functionality, mechanics and material/surface qualities. For example, how might the fingers be connected and function? Will they include wires, cogs, gadgets or special features?
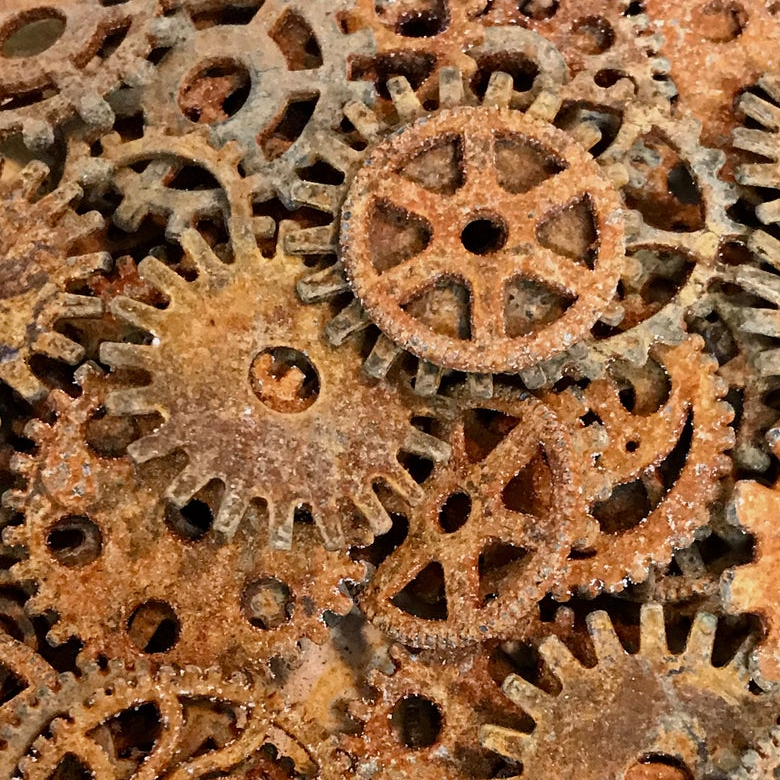
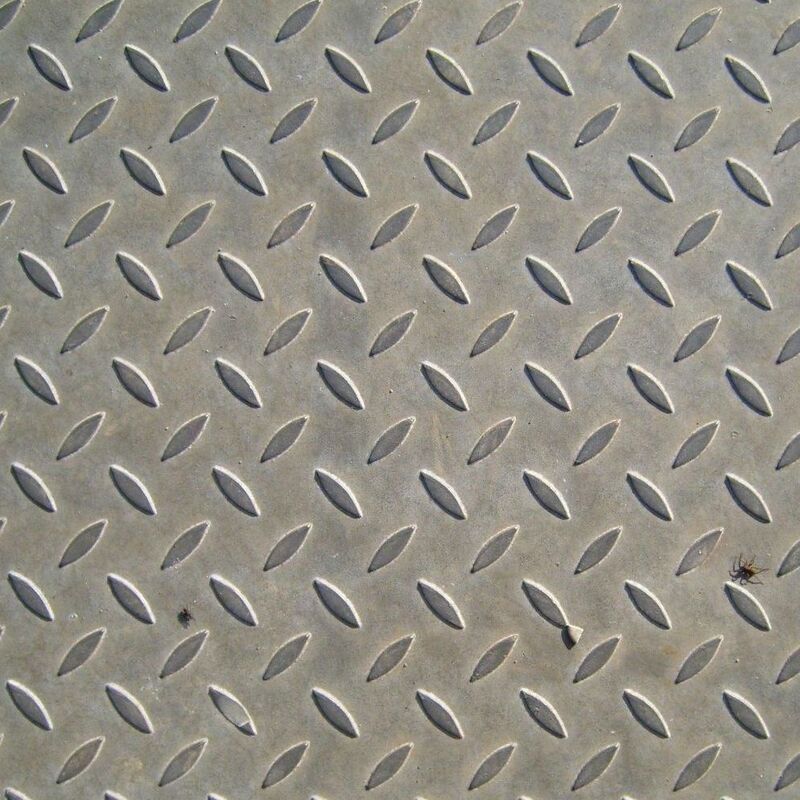
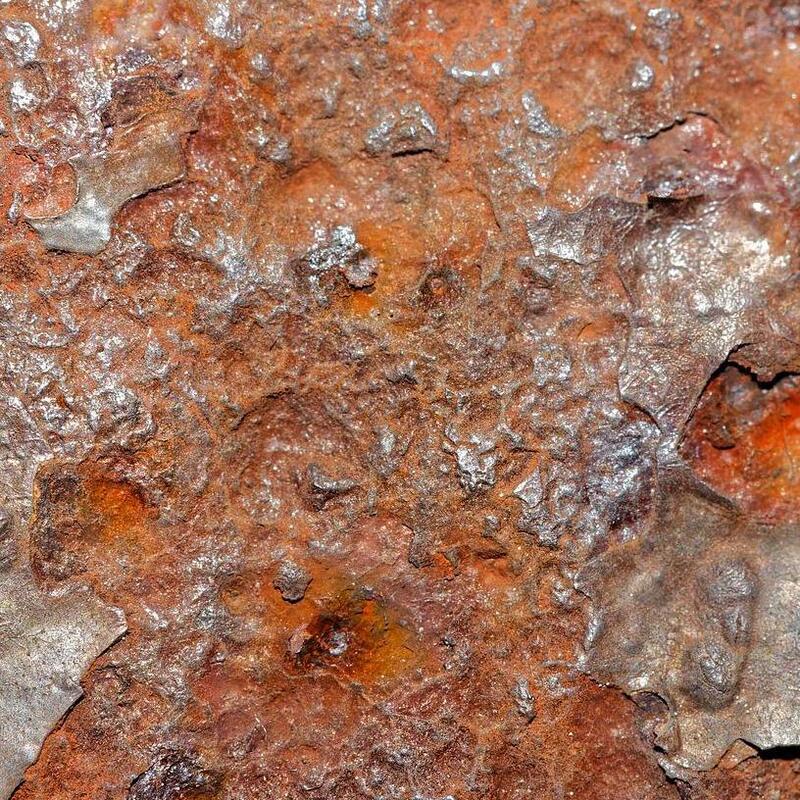
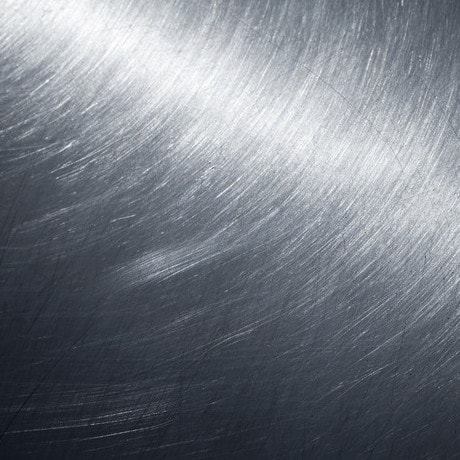
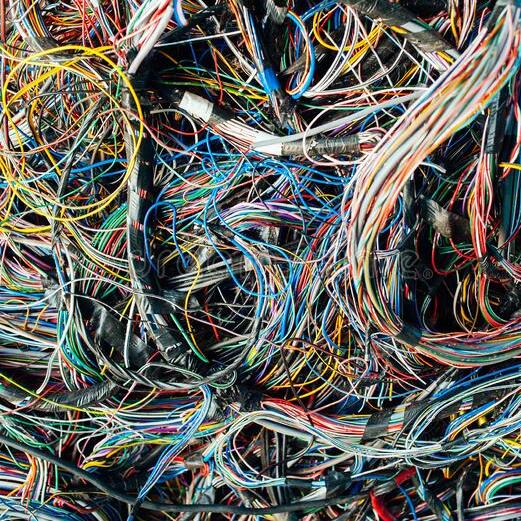
- Experiment with how you might use your pencil or pen to recreate different surfaces. For example, how might you draw and shade with your pencil to suggest smooth shiny metal; rusty, peeling metal; scratched and dented metal; various cables and/or cogs.
Some of the pictures and tips below, might help further with this. Click on the images to view in a slideshow - remember to look carefully and notice like an artist!
TOP TIPS
- It is possible to get different types of pencil. Pencils are usually graded to tell you how light/hard and dark/soft they are. You might have noticed a H or B grade on a pencil. The H stands for hard and the B stands for blackness. H pencils are harder and produce lighter lines; B pencils make a darker mark because they're softer and so also smudge more easily (which can be a good or bad thing). HB pencils are a middle grade and most popular in schools. The best tip is to experiment!
- When producing an initial design, make sure your pencil is sharp and try to press lightly to build up your sensitivity.
- Try softly shading with the side of your pencil to build up an even, metallic-style surface. Think carefully about where the light might fall to suggest 'form' (3 dimensions). You can also use a rubber to add areas of light to your shading.
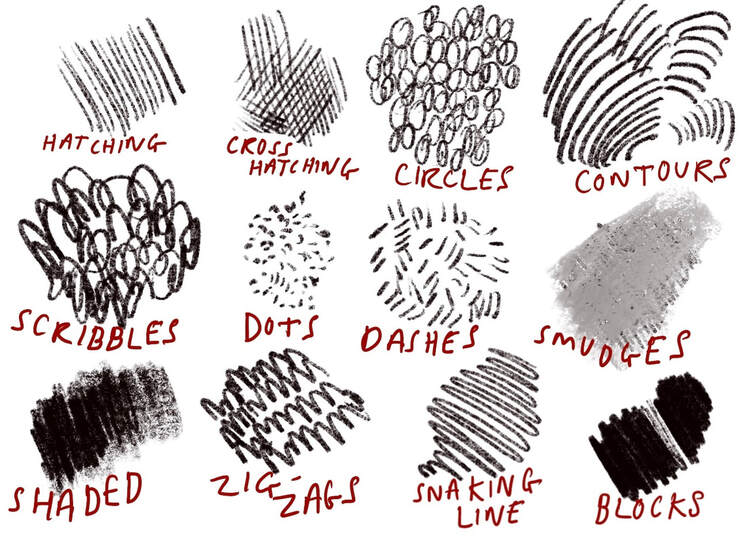
- Have a look at some of the shading techniques below. Which might be suitable for the surfaces and textures that you'd like to create? You could try making these marks with a pen or pencil.
Extension ACTIVITIES
Here are a few more ideas for experimenting with mark making techniques to develop your robot hand experiments further:
- Collaborate with your class to create your own life-size robot experiment! If you've done the exercise above, you already have at least one hand - you just need to add the remaining body parts! To do this collaboratively, write down various individual body parts - enough for the whole class to have a body part each (or a section of one - for example, the top half of a leg; the bottom half of a leg etc.). To add extra fun and surprise, these could then be selected by students without looking. Once everyone has completed their section by experimenting with different marks, join them all together on the floor or wall. Then, stand back, adjust as required to create a dynamic position, and then, say 'hello' to your own Iron giant!
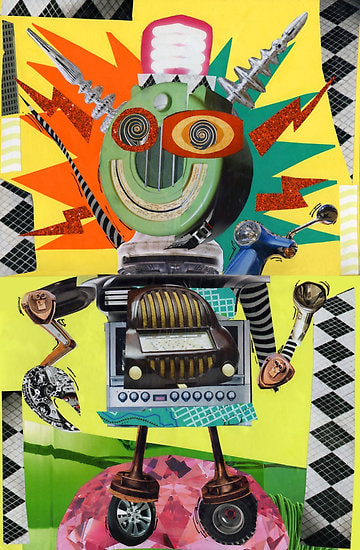
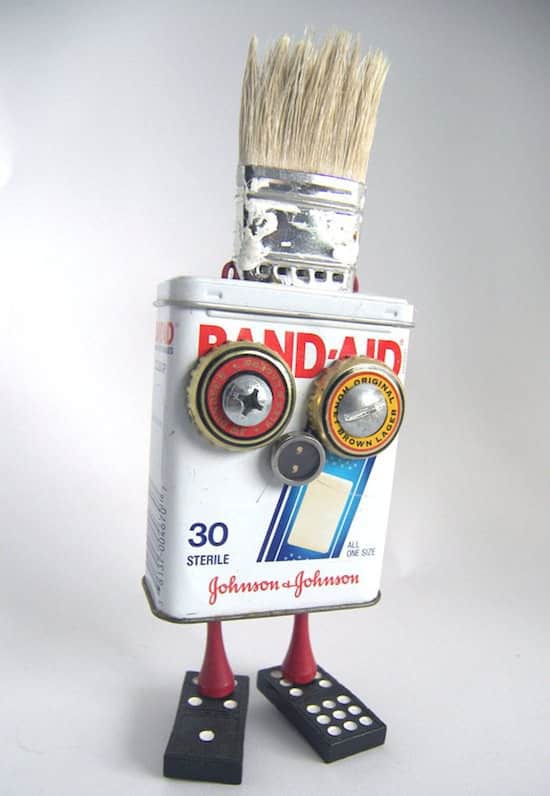
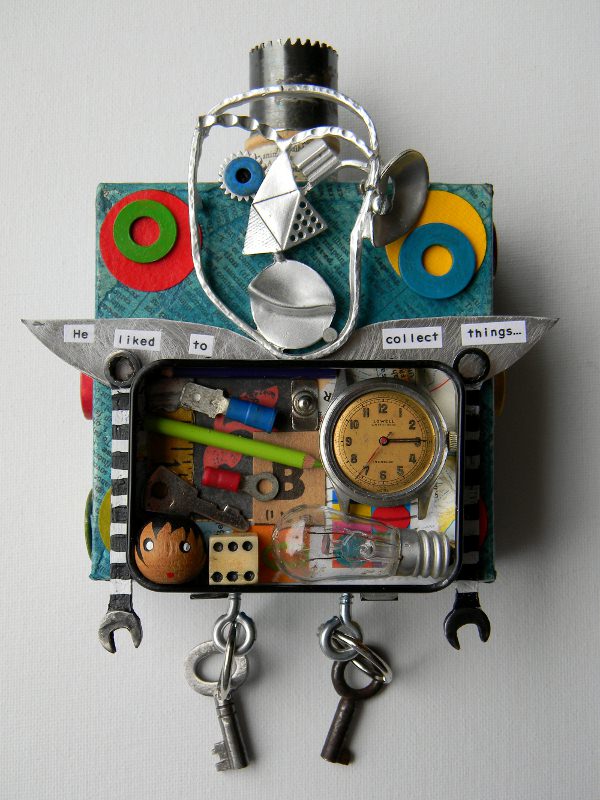
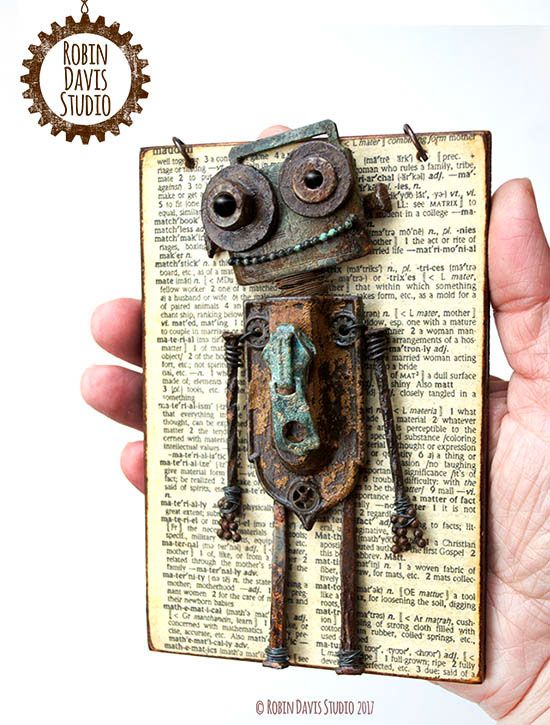
- Add texture to your robot hand - or full size-robot - by collaging with pictures, string, cardboard shapes, crumpled paper, tin foil, sand, or even metal or wood. Most importantly, remember to notice and question their surface and material qualities. How might the materials you choose create realistic or surprising effects? Could you make a fully 3 dimensional robot? How might you do this via junk modelling or using recycled materials?
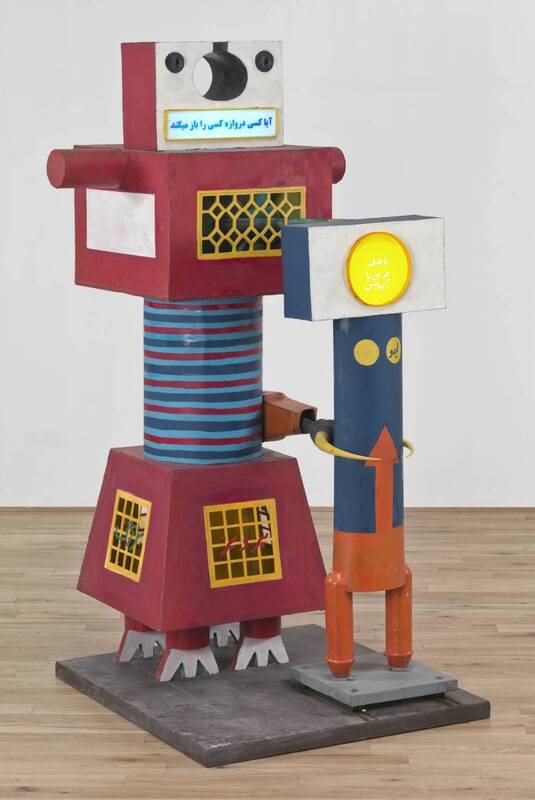
The images below might help you to think about working in this way. Click on images to see in full. From left to right, by SummerArt, Robots On Parade, Jen Hardwick, Robin Davis
Techniques where the work is still flat on one side are usually called 'collage', 'mixed-media' or 'relief'. If this type of work is fully 3 dimensional - if you can look at it from all sides - then it is usually called an 'assemblage sculpture'.
IN Pictures - DRAWING ROBOTS: considering scale, proportion and movement
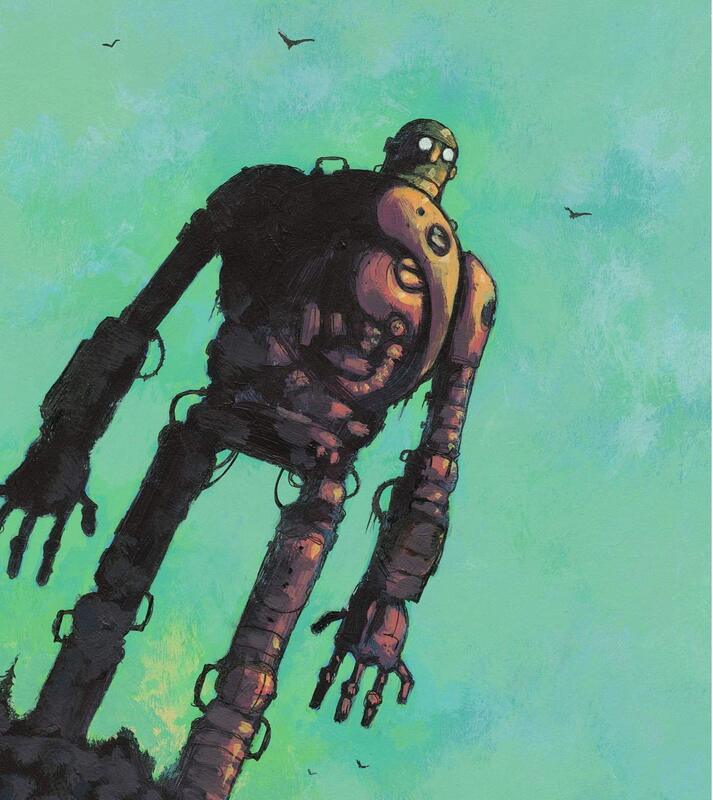
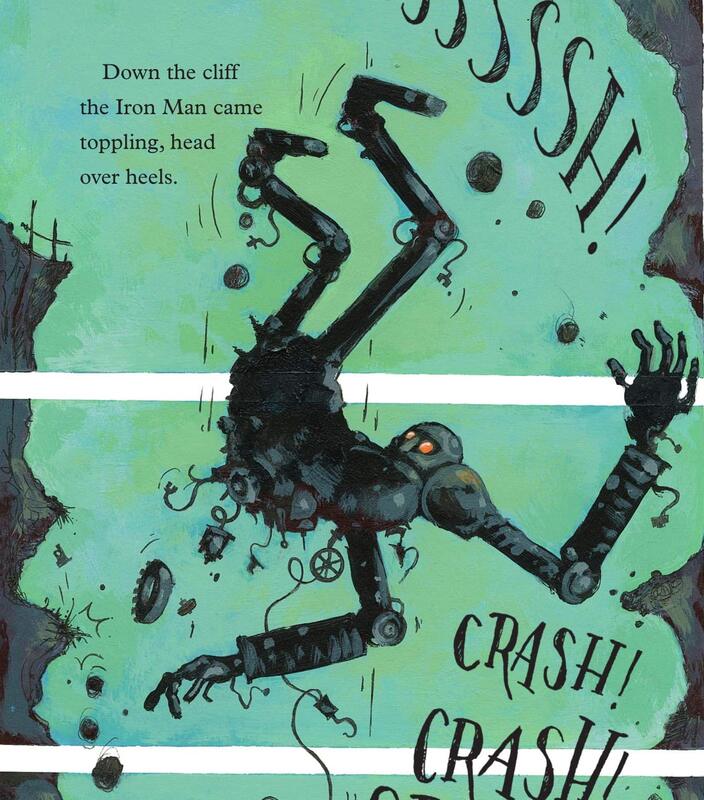
The illustrations for The Iron Man, above, are by illustrator Chris Mould. Click to see larger versions and then consider the questions below.
- How do these images suggest the scale and size of the Iron Man?
- What is the effect/impact of viewing the Iron Man from below? How does this composition and perspective create a sense of drama and tension?
- Within the image of the Iron Man falling, how is a sense of movement created?
- Compared with a human body, how do the proportions of the Iron Man differ? For example, compare the length of his arms to the size of his head. How might you measure your own proportions only using a pencil?
|
This short video shows Chris Mould talking about his illustrations for The Iron Man. Within this he demonstrates how he draws his robot character.
|
|
NOTICE, QUESTION, CONNECT
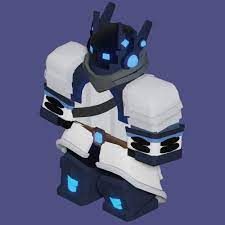
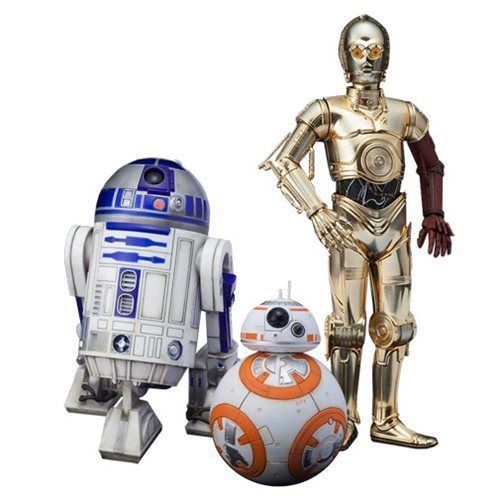
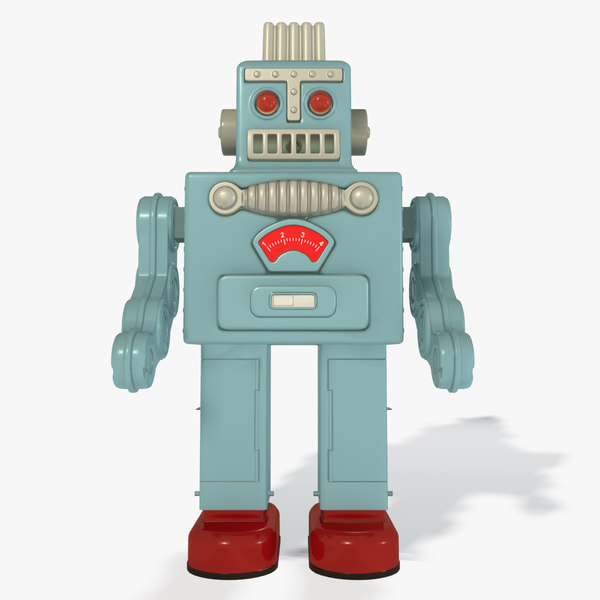
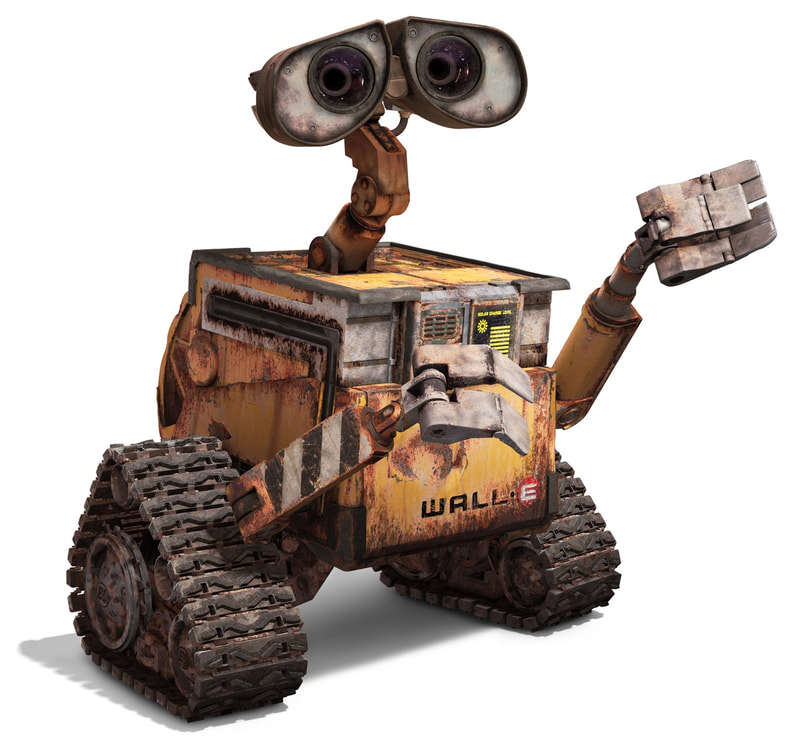
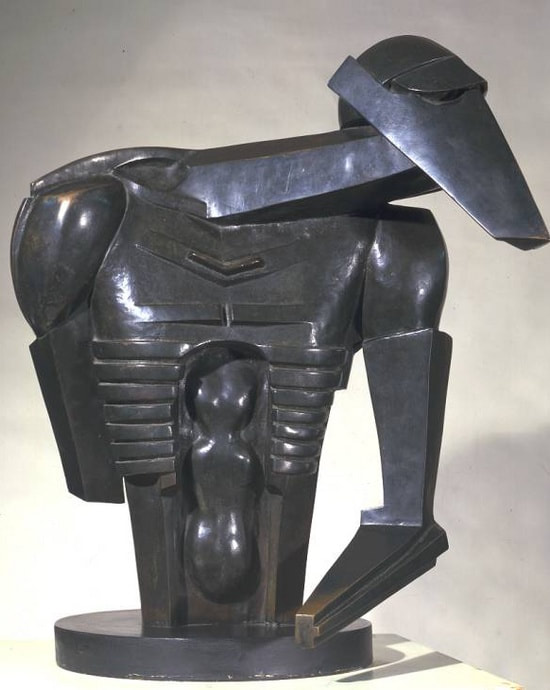
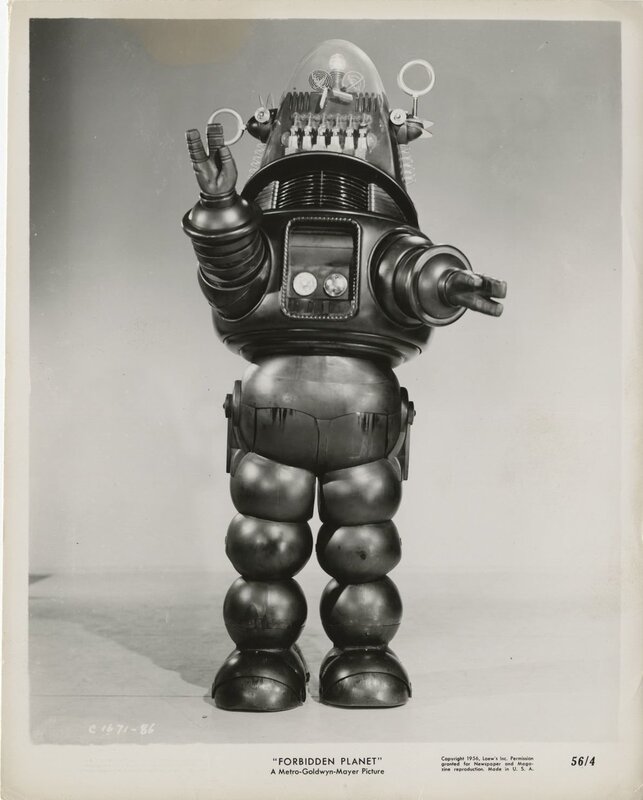
Our imaginations are continually fed and influenced by what we see. It's quite likely that you will be able to recall, remember and imagine a range of robots from your life time. These might be related to toys, books, games, cartoons, films or real-life encounters.
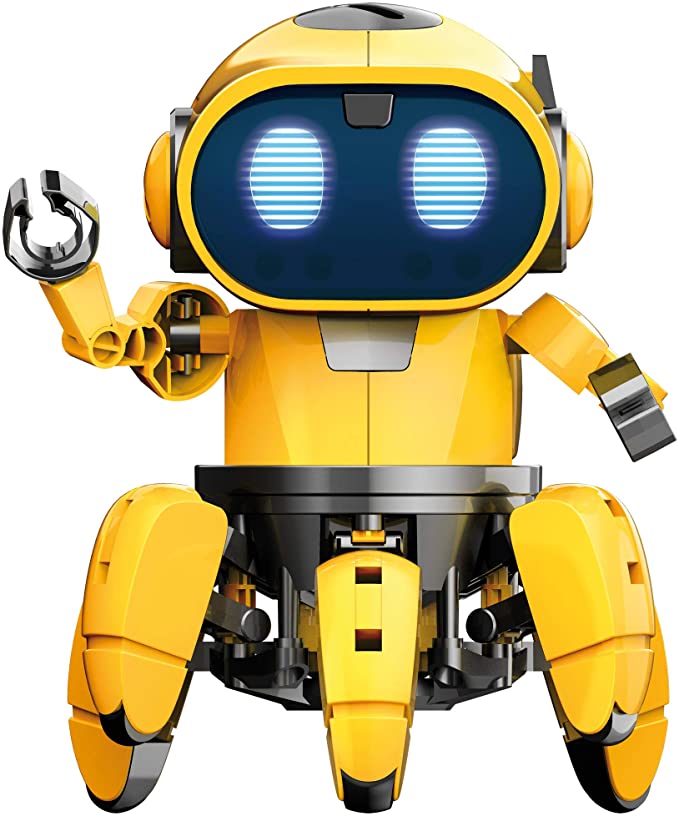
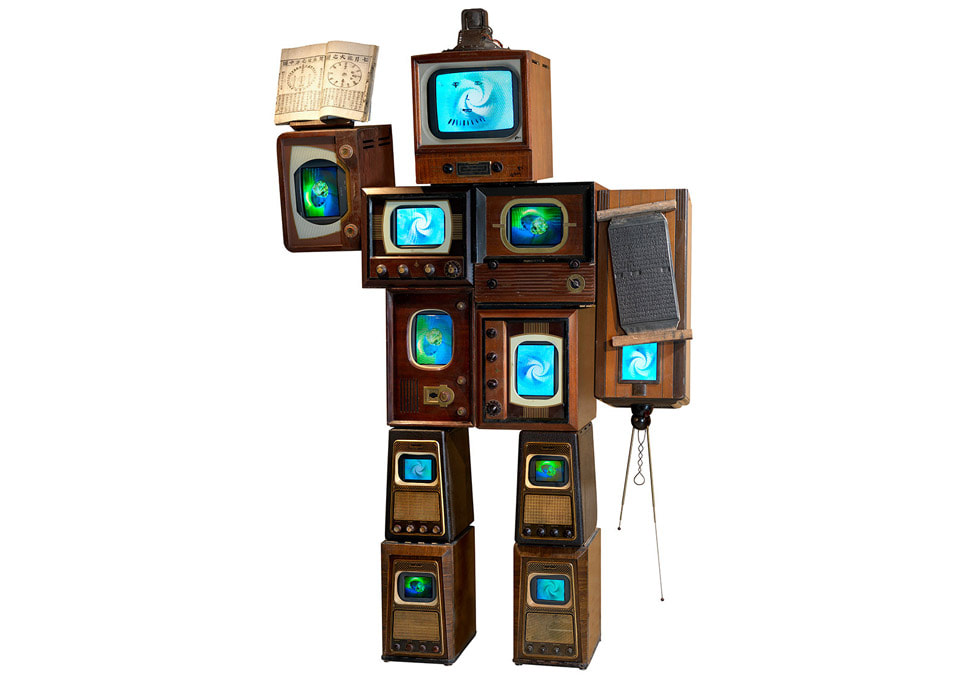
Look carefully at the 9 images below and then answer the following questions. Click to enlarge.
Look carefully at the 9 images below and then answer the following questions. Click to enlarge.
- Which of these robots are you familiar with?
- 3 of these images are from films, 3 are from toys/games, and 3 are works of art. Can you organise them into the correct categories?
- What visual similarities do these robots have? Which words might help to describe these, for example, shape, form, texture, colour, tone?
- Do these robots have different 'personalities' or appear like they might have certain characteristics, behaviours or attitudes?
- Which words help to describe these individual robots? Would you describe any as male or female, for example? Why? Do some seem more 'old-fashioned' than others, and if so, why?
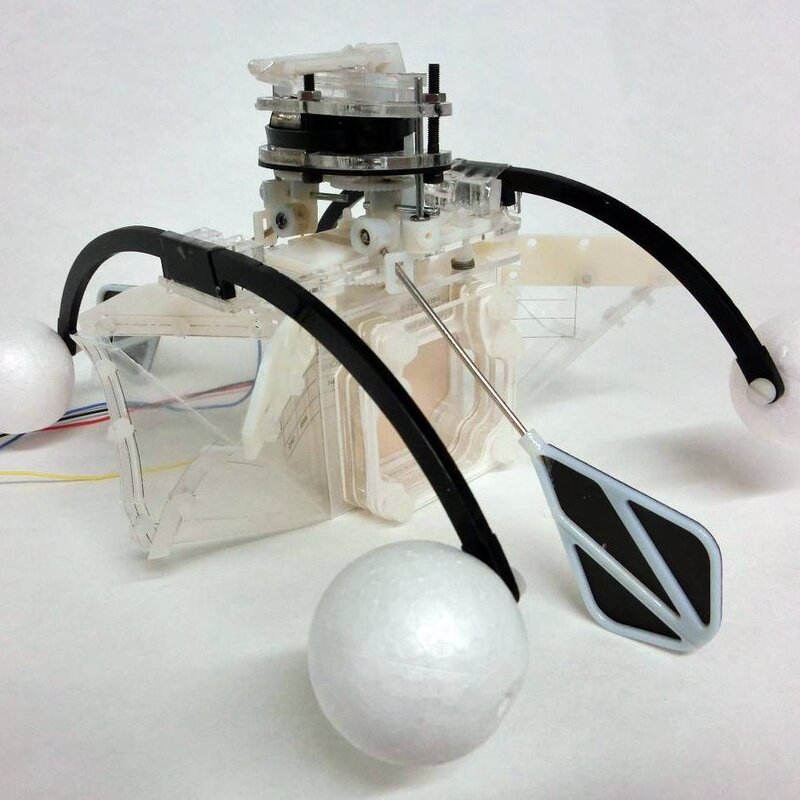
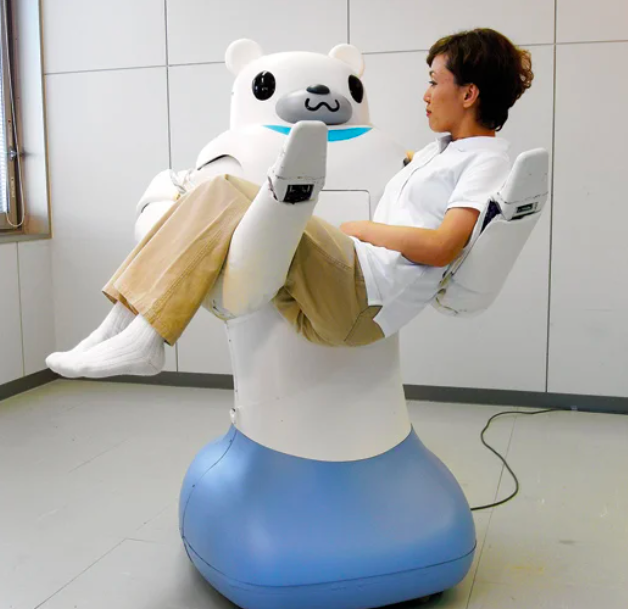
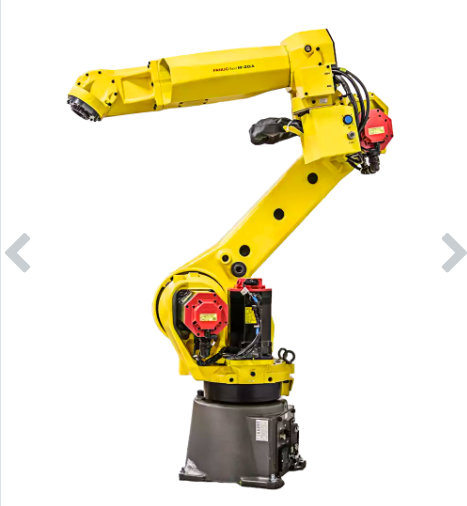
Compare the appearance of the robots above with the real-life robots below. These 3 robots were designed to contribute to help humankind, in various ways. What do you think these robots are designed to do?
Left to right: 'Row-bot' is designed to eat pollution; 'RoBear' is designed to lift patients in and out of bed; FANUC is a robot able to sort out recycling waste.
- Do you think robots are a good or bad thing for the planet and humankind? Can you think of examples of real-life robots that will help you to explain your answer?
ACTIVITY
- Design your own robot that has the potential to do good in the world - a robot that might be able to help human kind and/or the planet in some way. This might be helping a specific person or group of people, or it might help solve a bigger problem or issue.
- the potential movements, functions, gadgets and gizmos that your robot might need to fulfil its role. You might use some of the images you've seen here as inspiration.
- the lines and marks that you can make with your pencil or via collage to create various textures and surfaces.
- how you might add tone to create the appearance of form/3 dimensions.
